If you want to fix your wireless mouse, then the list of troubleshooting tips that follow should help you out. If you have a wireless mouse that’s not working and refuses to connect, we recommend using a wired mouse or trackpad to navigate your computer while working through some of the fixes below. If that’s not possible, the following keys should help you instead:
Tab: switch between on-screen elements.Up/Down/Left/Right Arrows: move between or expand items within lists.Enter and Space: select on-screen elements.Shift+F10 or Ctrl+Shift+F10: simulate right-click action.
1. Replace/Recharge Battery
A depleted battery can not only prevent your wireless mouse from connecting to your computer, but it can also cause sluggish or erratic cursor behavior. Try swapping it out with a new battery. If your mouse uses a rechargeable battery, hook it up to a power source for some time.
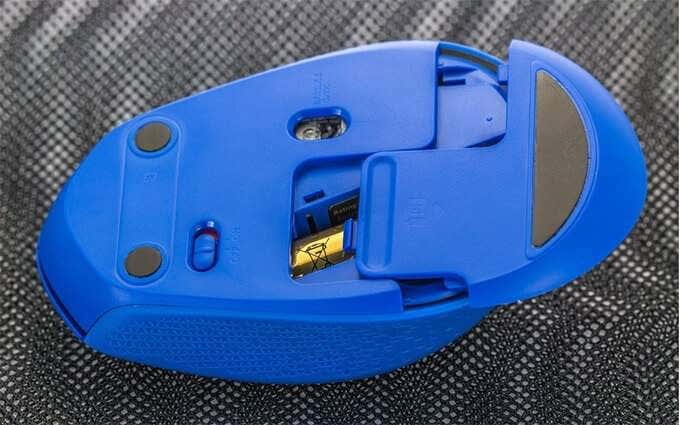
2. Turn On Power Switch
Almost all wireless mice come with a power switch. Usually, you can find it located at the bottom of the device. If your wireless mouse is not working, make sure that it’s set to ON.
3. Be Within Range
Most wireless mice only work within a short range of the USB receiver. Hence, make sure that you’re close to your computer. If you’re using a very old wireless mouse, it’s also a good idea to remove any objects that obstruct it from the receiver.
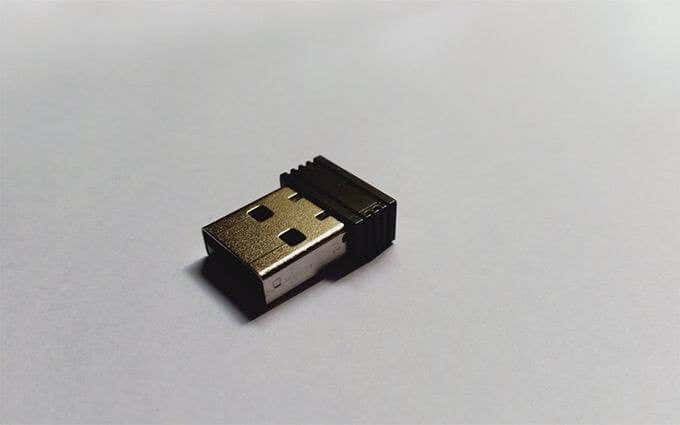
4. Remove and Plug Again
Sometimes, disconnecting and reconnecting the wireless receiver can help fix temporary glitches that prevent your wireless mouse from working correctly. Give it a go.
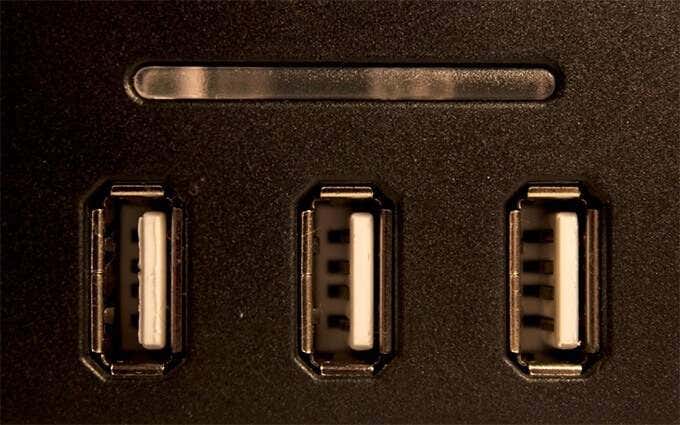
5. Change USB Ports
Remove and reconnect the USB receiver to a different port on your computer. Ideally, you should avoid connecting it to any externals USB hubs; insert it into a port directly on the computer instead. If that doesn’t help and your wireless mouse is still not working, you may want to troubleshoot the USB ports on your PC.
6. Restart Computer
Have you tried restarting your computer yet? Usually, that alone resolves most issues. Open the Start menu (press the Windows key if the mouse appears frozen), select Power, and choose Restart to perform a reboot.
7. Remove Other USB Peripherals
In some cases, computer peripherals such as flash drives, scanners, and printers connected via USB can prevent your wireless mouse from working properly. Try removing them. If that helped, reconnect the USB peripherals one-by-one to isolate the device causing the problems.
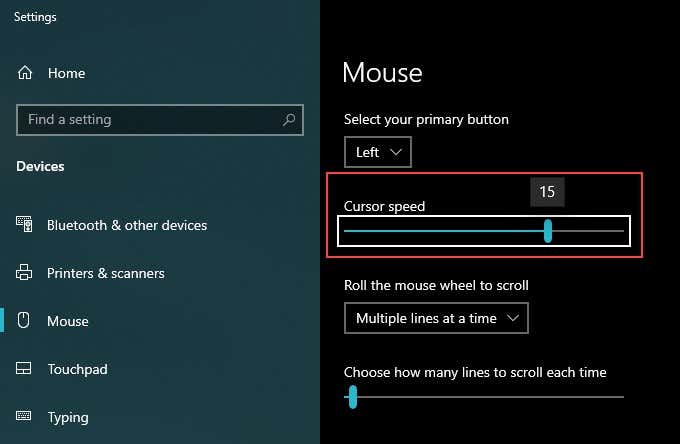
8. Control Cursor Speed
If your wireless mouse acts too slow or too fast, check that the speed settings are up to scratch. Press Windows+S, type mouse settings, and select Open. Then, use the slider under Cursor speed to increase or decrease the cursor speed.
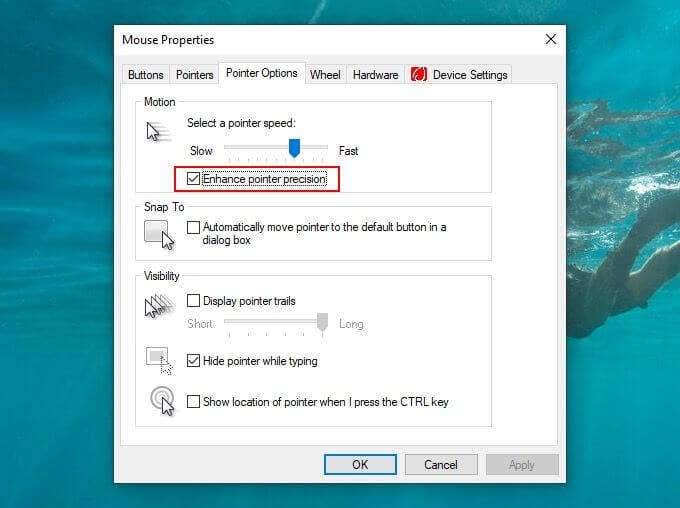
9. Increase Cursor Precision
If you have a tough time pointing at things with your wireless mouse, try increasing the cursor precision.
- Press Windows+S, type mouse settings, and select Open.
- Select Additional Mouse Options from the right of the Settings pane.
- Switch to the Pointer Options tab.
- Check the box next to Enhance pointer precision.
- Select Apply and OK to save your changes.
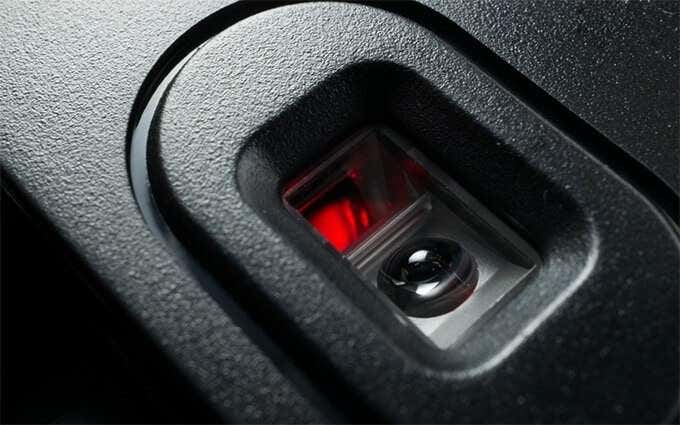
10. Clean Optical Lens
If you still have issues with the cursor on your wireless mouse, try cleaning the optical lens on the underside of the device. You can use compressed air or a damp cotton swab dipped in isopropyl alcohol to eliminate dust or grime.
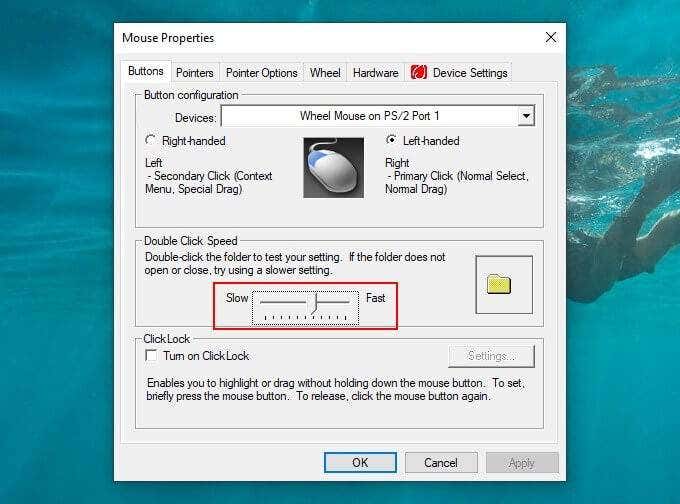
11. Increase Double-click Speed
Do you have trouble double-clicking items with your mouse? Increase the Double Click Speed setting on your computer and see if that helps.
- Press Windows+S, type mouse settings, and select Open.
- Select Additional Mouse Options.
- Switch to the Buttons tab, and use the slider under Double Click Speed to adjust the double-click speed.
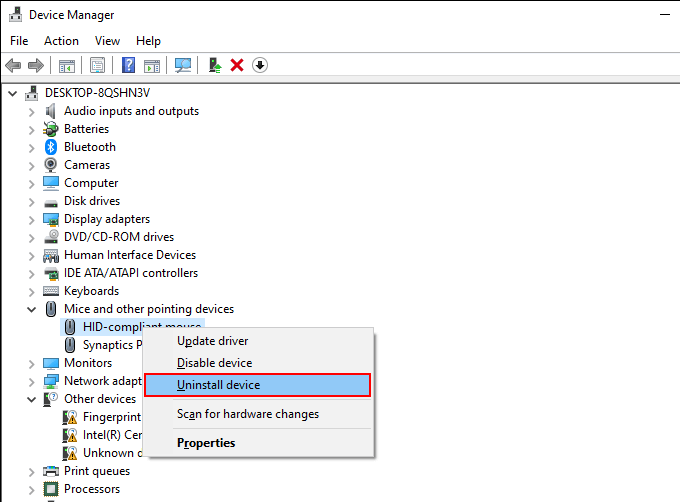
12. Reinstall Mouse Driver
If you continue to have connectivity-related issues or other problems with your wireless mouse, try reinstalling its drivers.
- Press Windows+X and select Device Manager.
- Expand Mice and other pointing devices.
- Right-click HID-compliant mouse (or the applicable driver for your mouse) and choose Uninstall Device.
- Restart your computer. Windows 10 should automatically reinstall the driver during startup.
13. Update Driver/Install Support Software
By default, Windows 10 applies a generic driver to get your wireless mouse to work on your computer. In almost all cases, that is more than enough. If you continue to have issues with your mouse, however, it’s worth searching the manufacturer’s website for any dedicated drivers or support software. Install them and see if that helps.
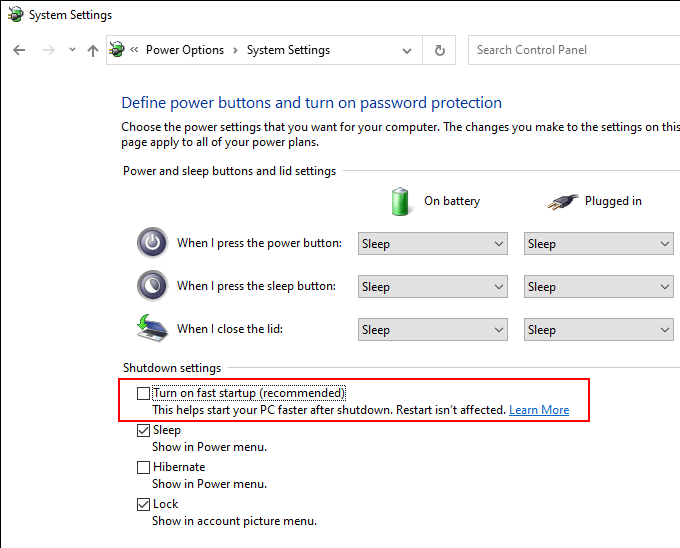
14. Disable Fast Startup
Windows 10 comes with a feature called Fast Startup that allows the operating system to launch faster from a cold boot. However, it can also cause issues with wireless mice. Disable it and see if that helps.
- Press Windows+X and select Power Options.
- Select Additional Power Settings.
- Select Choose what the power buttons do.
- Select Change settings that are currently unavailable.
- Uncheck the box next to Turn on fast startup (recommended).
- Restart your computer.
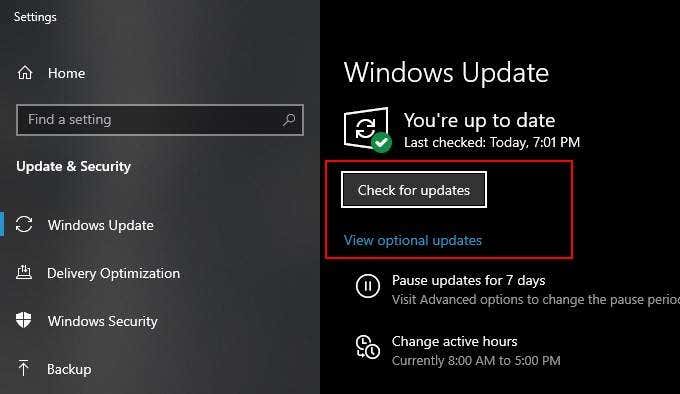
15. Update Windows 10
The latest Windows 10 updates contain bug fixes that can resolve various issues with your computer. It can also help when your wireless mouse is not working. If you haven’t updated your computer in a while, then do it now. Press Windows+S, type windows updates, and select Open. Then, select the Check for Updates button and install any pending updates. Additionally, select Optional Updates (if the option’s visible) and install any listed hardware driver updates.
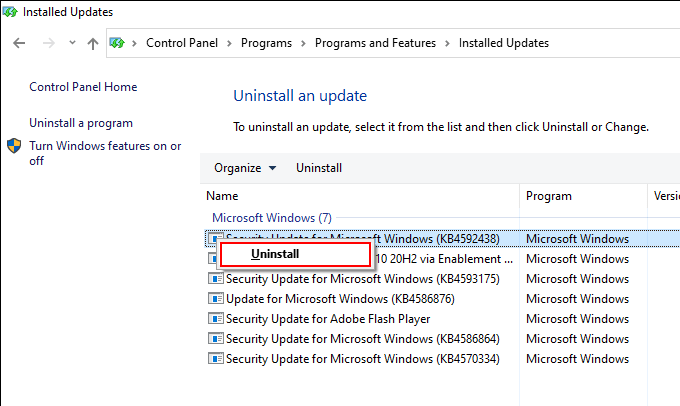
16. Uninstall Updates
In rare cases, Windows 10 updates can do just the opposite and break things down. If your wireless mouse started to malfunction after installing an update, try uninstalling it.
- Press Windows+S, type windows updates, and select Open.
- Select View Update History.
- Select Uninstall Updates.
- Right-click the most recent update and select Uninstall. Did that fix the issue? If so, you should defer Windows updates until the next incremental or feature update hits the shelves.
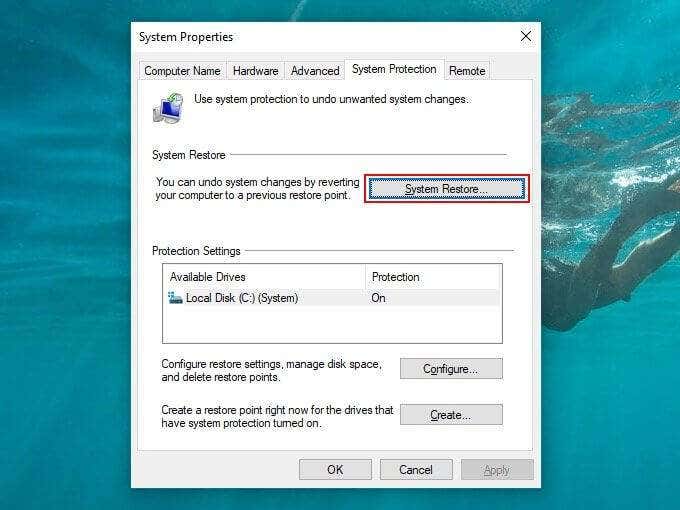
17. Restore to an Earlier State
If none of the fixes above worked, you could restore Windows 10 to an earlier state where your wireless mouse worked without issues. Provided that your computer has the System Protection functionality enabled, you can use System Restore to do that.
- Press Windows+S, type system protection, and select Create a restore point.
- Switch to the System Protection tab and select System Restore.
- Work your way through the System Restore wizard and restore your computer using an available system restore point.
Stay Wireless
Did the fixes above help you fix the issue. Hopefully, they did. If not, you’re likely dealing with a defective wireless mouse. If it’s still within the warranty period, consider sending it back for a replacement.