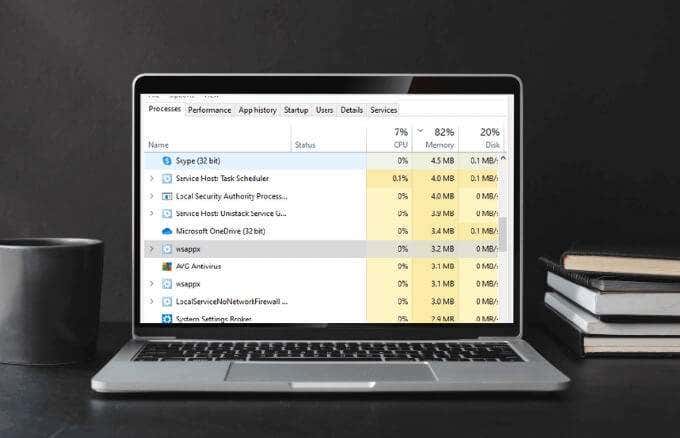
Wsappx is one of those unfamiliar services you’ll see in Task Manager. However, even though you can see the wsappx process, it isn’t entirely clear what it does. And why is it taking up a significant amount of your CPU and disk resources? In this article you’ll learn why wsappx causes high CPU usage and how to fix it.
What Is Wsappx?
Wsappx is a legitimate Windows service that’s well known for causing both high disk and CPU usage. The service, which handles the Microsoft Store (formerly Windows Store) and the Universal app platform, runs all the time. However, the amount of resources it uses can be minimal or significantly high depending on what you’re doing. For example, if you’re installing a Microsoft Store app or desktop software outside of the Store, the wsappx process will use more CPU or disk resources. The same happens when you’re running, updating, or deleting an app.
Why Wsappx Causes High CPU Usage
On Windows 10, the wsappx process has sub-processes known as Client License Service or ClipSVC, and the AppX Deployment Service or AppXSVC. The ClipSVC service handles licensing and protects against piracy for Store apps while the AppXSVC deploys apps so it runs anytime you install, update, or delete an app. Thus, if you disable either of these services, Store apps won’t work. When the sub-processes are active and running, you’ll see the wsappx process usage increase. While wsappx is a vital system process, it doesn’t have to be enabled all the time. It’s only needed when you want to install, update, or delete Store apps. Note: If you’re using a Microsoft Store app and get an error concerning licensing, you need to enable the ClipSVC and AppXSVC services.
What to Do When Wsappx Causes High CPU Usage
When you see wsappx using up a significant amount of your CPU, there are several fixes to resolve the issue.
Run a Virus Scan
If your computer has a virus or malware, it can cause usage spikes in various Windows processes. The same is true if any downloaded or Microsoft Store apps are infected. Running a virus or malware scan will help you rule out the possibility that such threats are the reason for high CPU usage on your computer.
Update Windows
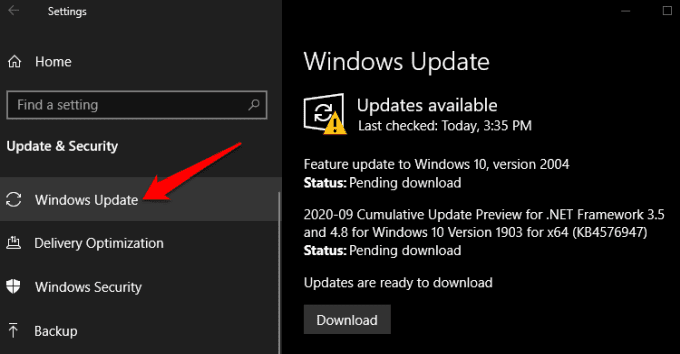
If the Microsoft Store won’t open or there’s a problem with the program, check whether there are any pending Windows Updates and install them.
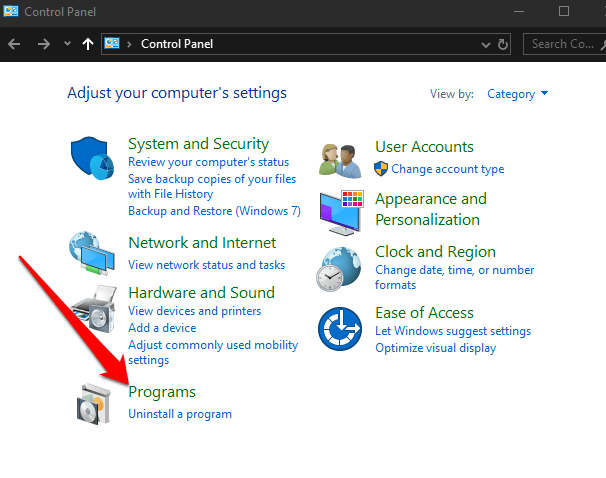
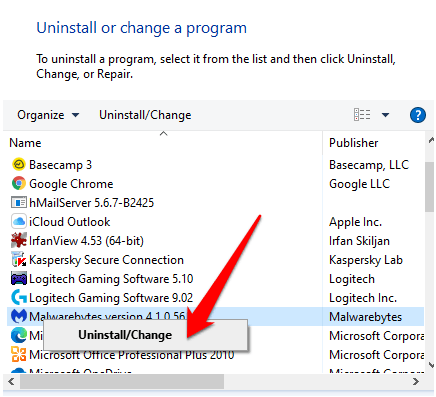
Uninstall Recently Installed Apps
Sometimes high CPU usage may be as a result of an app you recently installed. In that case, uninstall the app and restart your computer. If this fixes the high CPU usage issue, try to reinstall the app and see whether the problem persists.
Allocate More Virtual Memory
Increasing your computer’s virtual memory may help reduce the high CPU usage.
Disable Microsoft Store
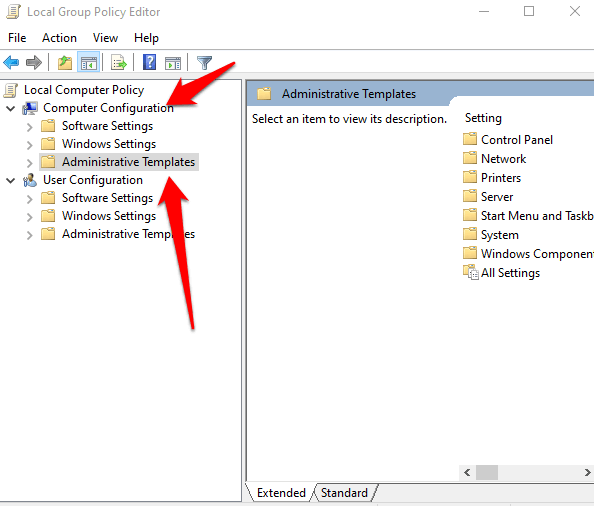
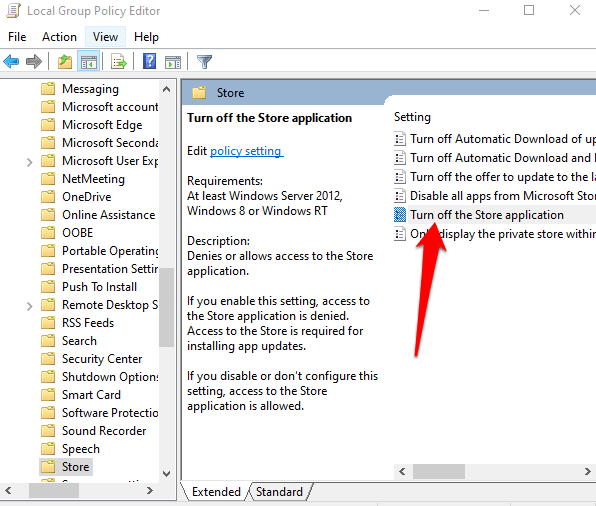
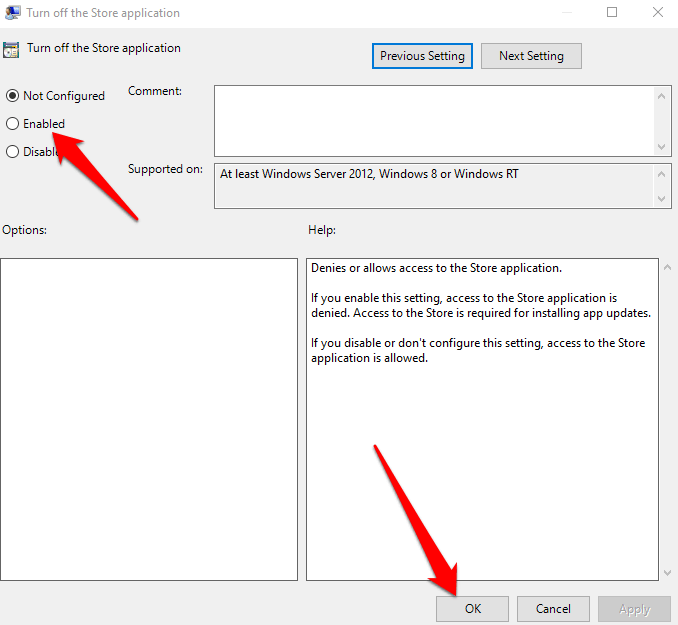
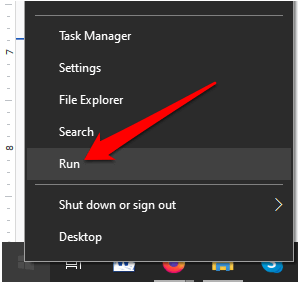
You can disable Microsoft Store using the Group Policy Editor or the Registry Editor. If your Windows version lacks the Group Policy Editor option, you can disable Microsoft Store using the Registry Editor. Note: Disabling Windows Store isn’t recommended if you need frequent automatic updates for apps like Photos, Calculator, Mail, Movies & TV, and OneNote. Plus, you can’t install or update third-party Windows Store apps when Windows Store is disabled.
Disable Automatic Store App Updates
Another way to reduce the wsappx high CPU usage is to disable automatic updates for Store apps to keep them from updating without your involvement. Note: Remembering to check for updates manually isn’t easy for most people. Plus, apps are a major part of the Windows 10 operating system, so unless the automatic updates are grinding your system to a halt, we don’t recommend disabling them.
Remove Bloatware and Stop Background Apps
Bloatware and background apps tend to run when you don’t want them to, thereby increasing CPU usage on your computer. Removing bloatware ensures they don’t keep updating in the background and consuming resources. Disabling background apps from running means the app can’t check for new notifications when it’s not in use. You can disable background apps that you never use or toggle the slider to completely disable all background apps.
Other Fixes to Try
Change AppXSVC Value in the Registry. You can do this in the Registry Editor. Navigate to the following key and change the Start value to 4.
Perform a clean boot to make Windows run startup programs and a few essential driver sets so you can check whether the high CPU usage is caused by startup programs.
Manage CPU Load
If you’re using Microsoft Store or apps are updating in the background, you may experience the wsappx high CPU usage issue on your computer, albeit temporarily. Try the solutions above and see whether wsappx goes back to normal levels.