This is due to the DHCP lease time. This allows a local network to reallocate IP addresses from devices that have been disconnected for a while to other devices, freeing up IP addresses for other devices that may connect (unless you give them a static IP).
What Is DHCP Lease Time & Should It Be Changed?
Unless otherwise specified, a typical network router will assume that any connection made to it is temporary. Your device is assigned an IP by the DHCP server with a lease time attached. If your device isn’t seen after that period expires, the lease expires, and the IP address is freed for other devices to use. The DHCP lease time is the time given for a lease to remain active before it expires. As we’ve mentioned, 24 hours is the usual lease time issued by networks for connected devices, but this is a standard value that might not be appropriate for your network. You can change this value, however. If you’re running an open or public network for others to connect to, you might expect a large number of short-term connections. This is where a smaller lease time would make sense, keeping the pool of free IP addresses replenished and allowing new devices to connect. The lease time you use depends on your own needs. You could use an hour for a restaurant WiFi network to 12 hours for a guest office network, for instance. You’ll need administrative access to your network router to be able to change these settings. While you can view the current DHCP lease time on your PC or Mac, changing it will require access to your router.
How To View DHCP Lease Time On Windows 10
You can view the DHCP lease time for a Windows PC by using the Windows PowerShell, the replacement for the command line on Windows 10.
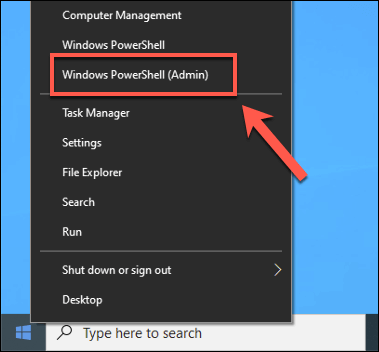
To open a PowerShell window, right-click the Windows Start menu and press Windows PowerShell (Admin). This will launch a PowerShell terminal with administrative privileges.
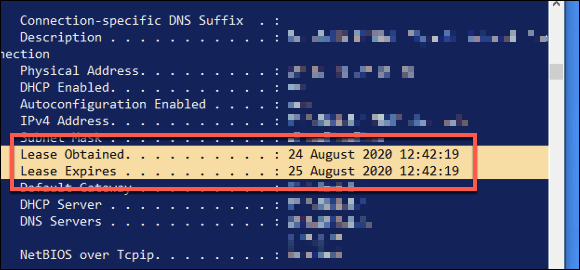
In the PowerShell window, type ipconfig /all. This will list all relevant information about your current network connections, including your DHCP lease issue and expiry times. For your network adapter, look for the Lease Obtained and Lease Expires values.
From this information, you can determine the lease time. In the example above, the lease expiry time is exactly 24 hours after the lease was first issued. This period may be shorter or longer for your connection, depending on your own network configuration.
How To View DHCP Lease Time On macOS
On a Mac, you can view DHCP lease time using the built-in Terminal app.
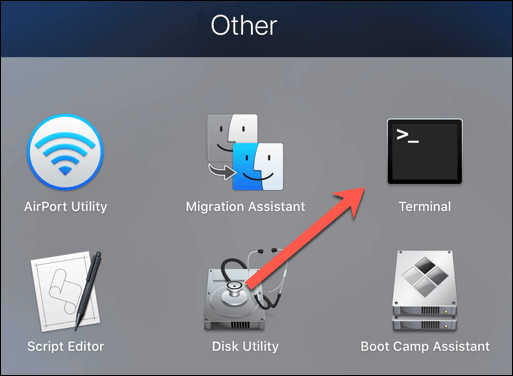
You can launch the Terminal app by clicking Launchpad > Other > Terminal from the Dock at the bottom of your screen.
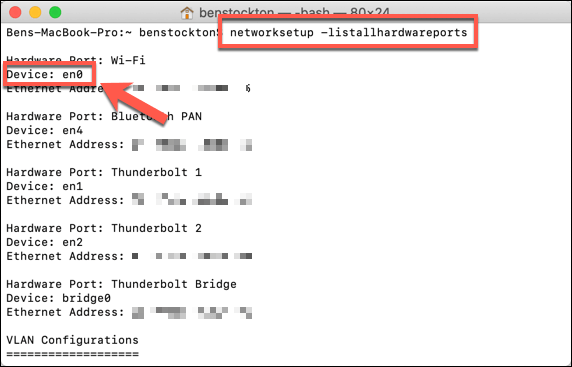
You’ll need to know the device name for your network device on macOS. To do this, type networksetup -listallhardwareports in the Terminal window and hit enter. This will list the name and MAC address for all network devices.
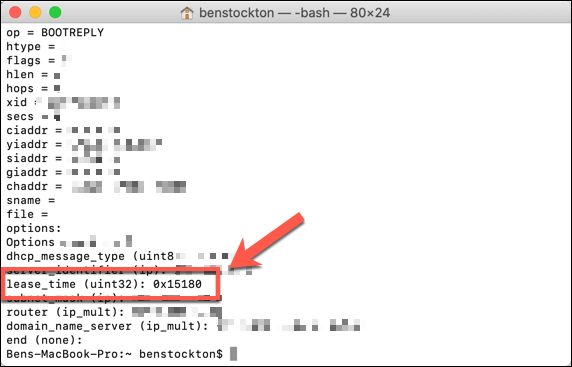
Once you have your device name, you can find the current DHCP lease time by typing ipconfig getpacket en0, replacing en0 with your own device name. This will list various information about your connection. The DHCP lease time will be listed next to the lease_time (uint32) option.
The DHCP lease time will be shown here as a base-16 hexadecimal value. You’ll need to convert these values to a standard decimal number. For instance, the connection above has a hexadecimal DHCP lease value of 0x15180. This converts to 86400, the length of the lease in seconds, which is equivalent to 24 hours.
Changing DHCP Lease Times On A Local Network
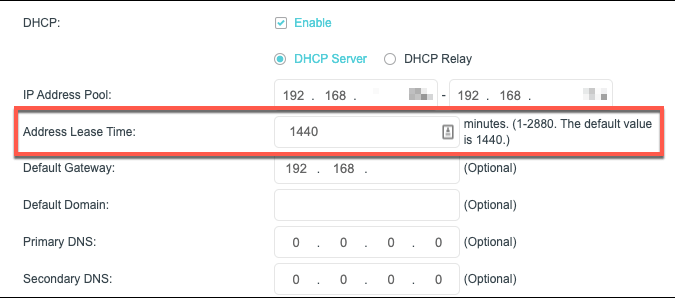
It isn’t possible to change the DHCP lease time in your device’s network settings as this is controlled by the DHCP server that allocates IP addresses, which is usually your network router. You’ll need to have administrative access to your router to change this. You can usually connect to your network router by typing http://192.168.1.1 or http://192.168.0.1 in a web browser while connected to the network. You may need to check the manual for your router to determine if this is the correct way to connect, as well as determine the admin username and password to log in. Once you’ve signed in, you’ll need to look for the appropriate Network/ LAN Settings or DHCP Settings area in your router’s settings menu. If you can’t find this, consult your user manual for further advice. The DHCP lease value is named in various ways. For instance, on a TP-Link router, this value is called the address lease time. You can set this in minutes for this type of router, up to a maximum of 2880 (the equivalent of 48 hours). Other routers will have longer or shorter maximum lease periods. Change the value accordingly, then save your settings. Once the DHCP lease value has been changed, the new lease time will be issued to your devices accordingly.
How To Renew a DHCP Lease
If you’ve changed your DHCP lease time, you can force any connected devices to release the existing IP lease and renew it. This will allow any changes to your DHCP lease information to be applied immediately.
To do this on a Windows 10 PC, open a Windows PowerShell window by right-clicking the Start menu and pressing Windows PowerShell (Admin).
In the open PowerShell window, type ipconfig /release. This will release the existing IP lease and disconnect.
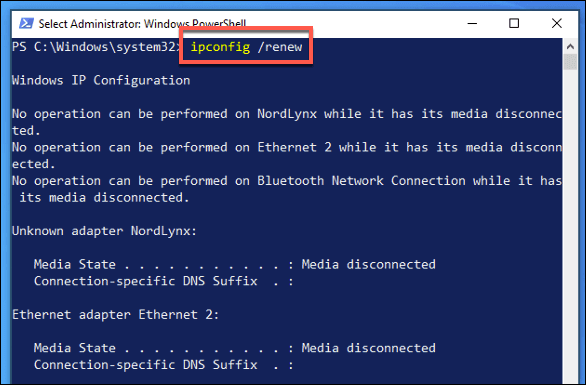
Type ipconfig /renew to reestablish the connection. The network DHCP server will issue a new lease at this point.
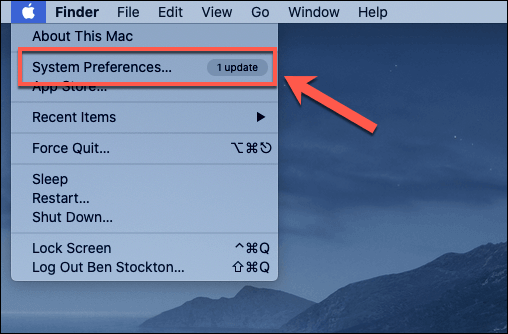
On macOS, you can do this from the System Preferences menu. Press the Apple icon on the menu bar, then click System Preferences.
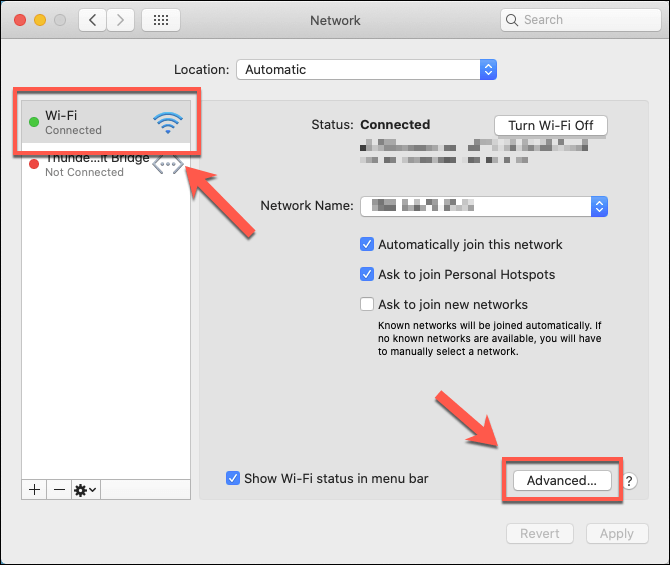
In the System Preferences menu, press Network. Select your network connection in the left-hand menu, then press Advanced.
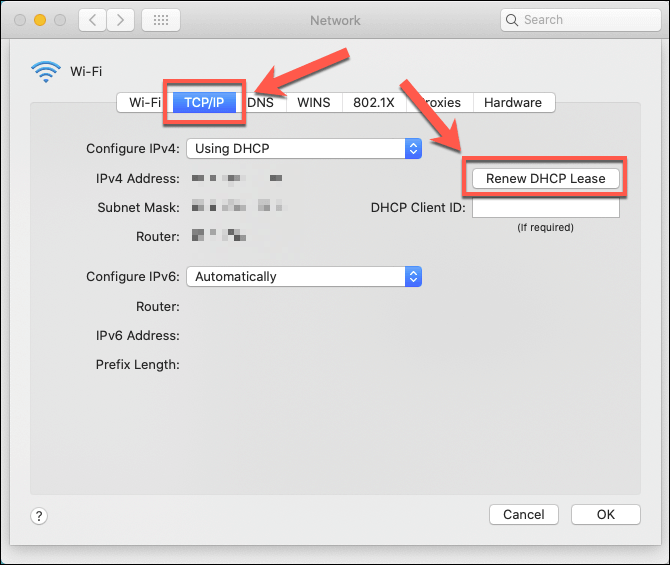
In the Advanced Network menu, press the TCP/IP tab. Click the Renew DHCP Lease button to release and renew your IP lease automatically.
This will take a few seconds to complete. Once completed, your IP address will update to confirm your IP address, but you’ll need to run ipconfig getpacket en0 (replacing en0 with your own connection) from the Terminal app to check the current lease time.
Correct Network Management In Windows 10
The DHCP lease time allocated to devices on a network is an essential component in how your network works. If you’re struggling with IP address conflicts, however, you may find that it’s better to assign a static IP to devices that you use regularly. Many of these settings need to be configured on your network router, but Windows will allow you to change network settings yourself—just be prepared for conflicts if your settings don’t match your router. This might prevent you from seeing other computers on your network, so be sure to double-check any settings you modify first.