People are inherently drawn to attractive visuals. Did you know that 67% of consumers say that a product image is more important than the description when deciding whether to make a purchase? You don’t have to be a designer to create and use compelling images in your online content. There are many tools that make it easy to design quality visuals and that are also great alternatives to PowerPoint. This tutorial on creating custom images with Canva covers:
Choosing your design type.Choosing your template.Using the Canva editor.Designing custom images from scratch.
Canva is one popular tool that can help you create custom images for your content, both online and offline. The variations of designs you can create with Canva are endless, including:
PrintAnimated social mediaPresentationsPostersInfographicsAdsSeating chartsSocial mediaFlyersBlog postsCardsEmail headersLettersMagazine coversCertificatesResumesBook covers
Follow the tutorial below to get started using Canva quickly and easily.
Create a Free Account
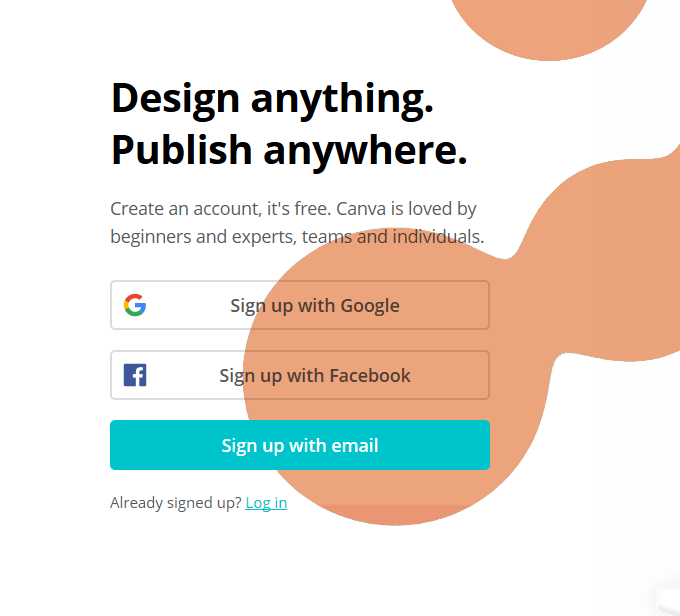
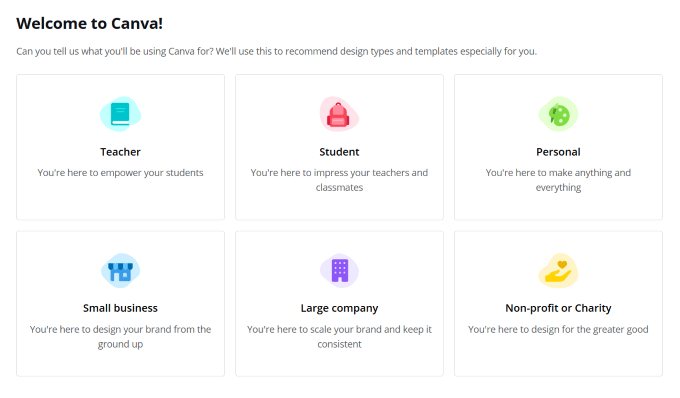
Canva is a useful image creation tool with a free version. There is also a pro version, as is the case with most free tools. Start by creating your free account. You can sign up with Google, Facebook, or email. After you sign up, you will be asked if you are creating an account for:
TeacherStudentPersonalSmall businessLarge companyNon-profit or charity
You are asked to choose an option to help Canva know which templates and design types to recommend to you. However, because you are signing up for a free account, it doesn’t matter which option you choose. By default, Canva will put you into a personal account. You can upgrade at any time. Although it won’t be necessary because the free version has so many options and features to enable you to create almost anything you want and publish it anywhere.
Choose Your Design Type
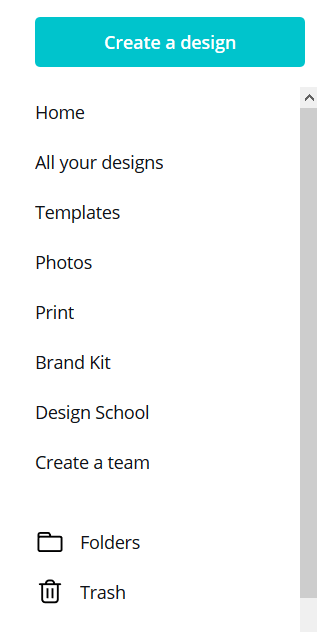
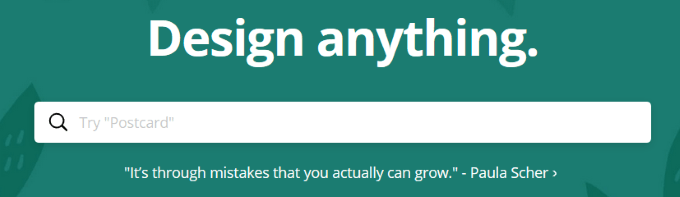
Choose from the various options of image types and Canva will show you the pre-set dimensions for that type. You can also use custom dimensions by clicking on custom size to select from inches, pixels, or millimeters. Either click on create a design and search or scroll through the options to find the one you want to use. Another way to get started is to type your chosen design type into the search bar or scroll through the options on the dashboard. After you create a design, you will be able to access it under All your designs.
Choose a Template
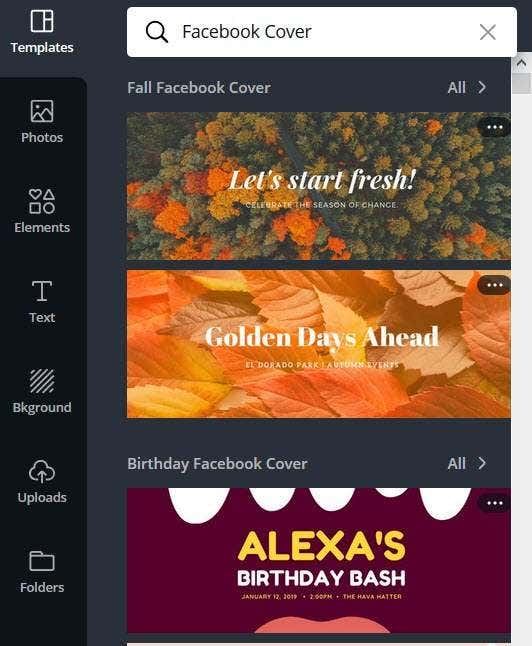
Once you have chosen your design type, Canva takes you into its editor. We will use a Facebook Cover for this tutorial. If you want to get started quickly, you can use one of the many templates provided by Canva. The templates are fully customizable too. So, you can change the color, images, fonts, and more. Either click on the template to make it appear in the work area. Or drag and drop it into the editor. You can replace it at any time by clicking on another thumbnail from the side panel. Note that any changes you make to a template will be replaced by the new one. After selecting your template, you will be able to format and customize the elements such as photos, text, color, transparency, and background. If you want to change an element in the template, click on it and use the toolbar. You will find it located at the top of the editor.
Using The Canva Editor
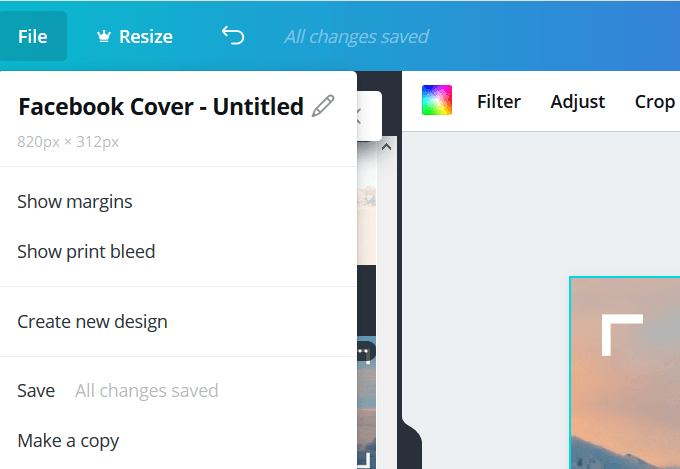
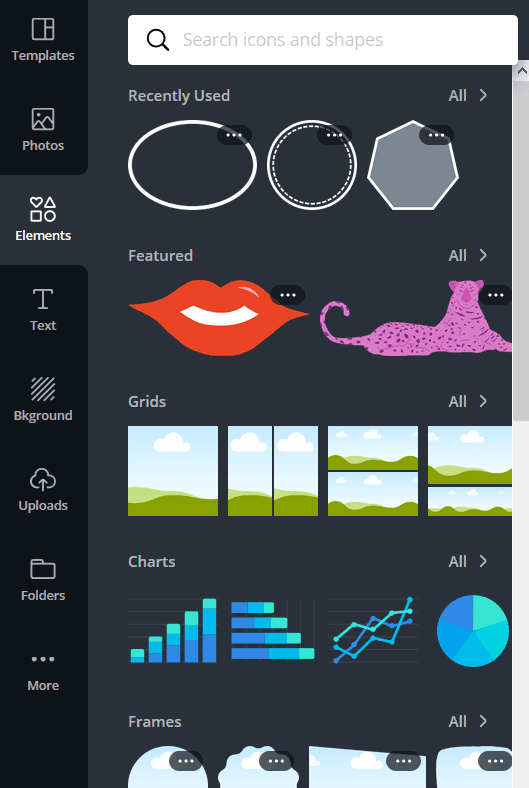
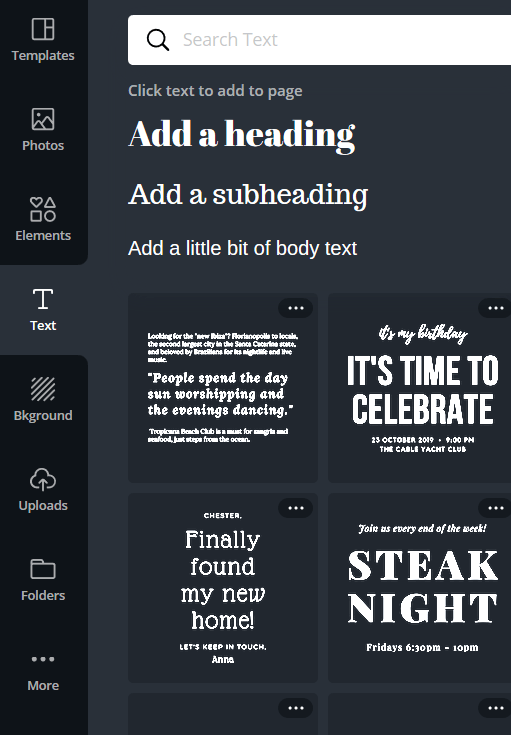
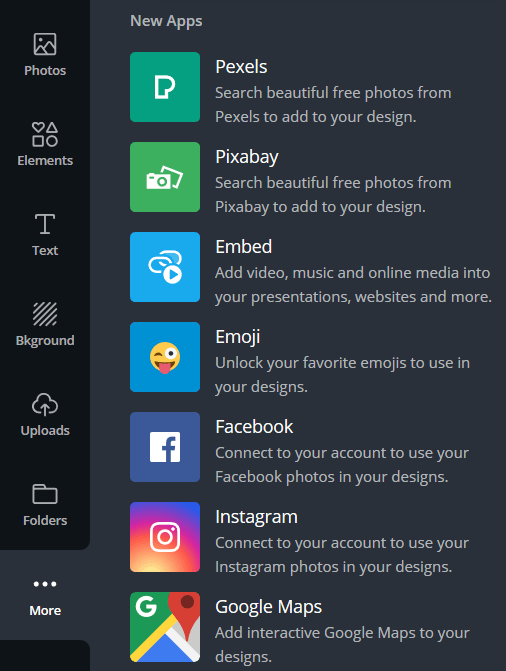
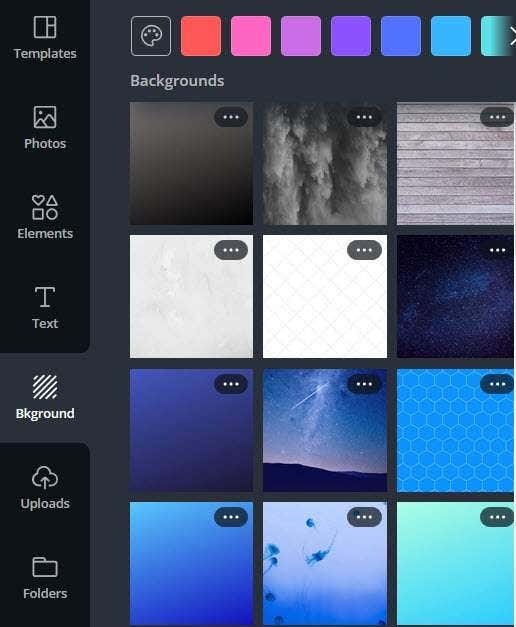
Inside the editor, you can design an image or customize a chosen template. If you want to change the name, do this in the menu bar. Designs are automatically saved, but you can also use the manual save option. Inside the side panel on the left-hand side of the editor, you will find images, templates, photos, icons, illustrations, grids and frames. Use the text tab to add a heading, a sub-heading or a body of text. You can also add a text combination which are different fonts put together in a visually appealing way. The Uploads tab will enable you to add your own images and photos. Use the folders tab to organize your images and designs. When you click on more, you will see the Canva apps.
Design From Scratch
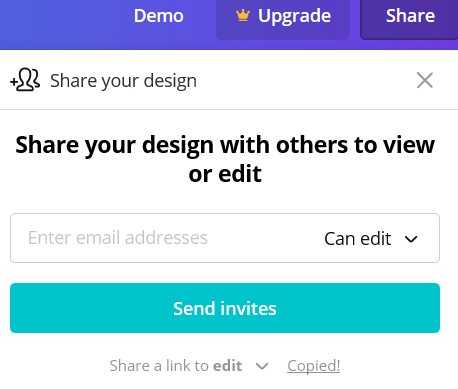
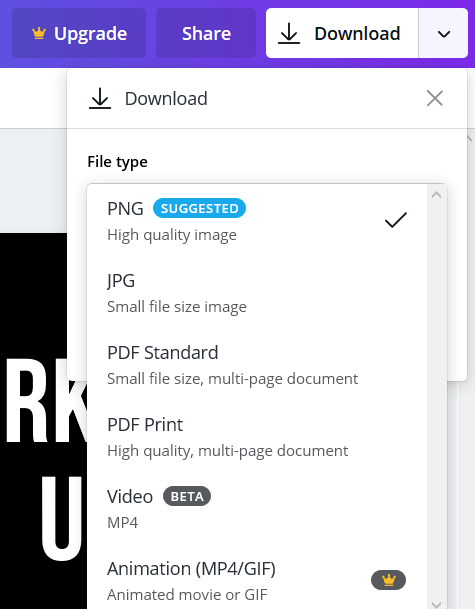
If you prefer, you can create your design from scratch rather than using a template. To get started, choose a background image or color. Add images and text to your background from the menu bar on the left side of your editor to complete your design. Once your design is ready, invite others to view or edit. Send an email invitation by entering an email address or copy the link to share. Save your image to your computer by clicking Download in the top right-hand corner. You will see several formats to choose from in the dropdown menu. The possibilities are endless when using Canva to create custom images. For more tips and tricks on how to get the most out of Canva, check out their tutorials.