The number of visitors to your siteWhat country they are fromHow many pages they visited per sessionThe most popular pages on your siteHow many site visitors bounced (left without performing any action)
Tracking essential metrics such as page views, session durations, and bounce rate with GA require the placement of GA Tracking Code or a GA JavaScript code snippet on every webpage. This is ideal for keeping track of general information. However, for more specific metrics or multiple interactions, it becomes more challenging to keep track of every action. For example, it would take a lot of time for a website owner who wants to track several different forms and various features to get all the necessary tags set up and running. Google Tag Manager (GTM) is a free tag management tool that makes tracking all your tags easier.
What Is Google Tag Manager?
Rather than replacing GA, GTM works with GA (which is a tag itself) to help users add tracking code (tags), define rules and deploy code snippets. The data collected by GTM is sent to and stored in GA and other tools such as Google Ads, PayPal, and Facebook. Examples of tags website owners might want to track are:
Google AdsEventsFacebook pixel codeRemarketingCustom HTML/JavaScript code
Website owners should decide which behaviors will provide insights they need to make better strategic marketing decisions. Then use Google Tag Manager to collect data and analyze the results. In this article, we will outline how to get started using GTM for your website.
Set Up Your Website
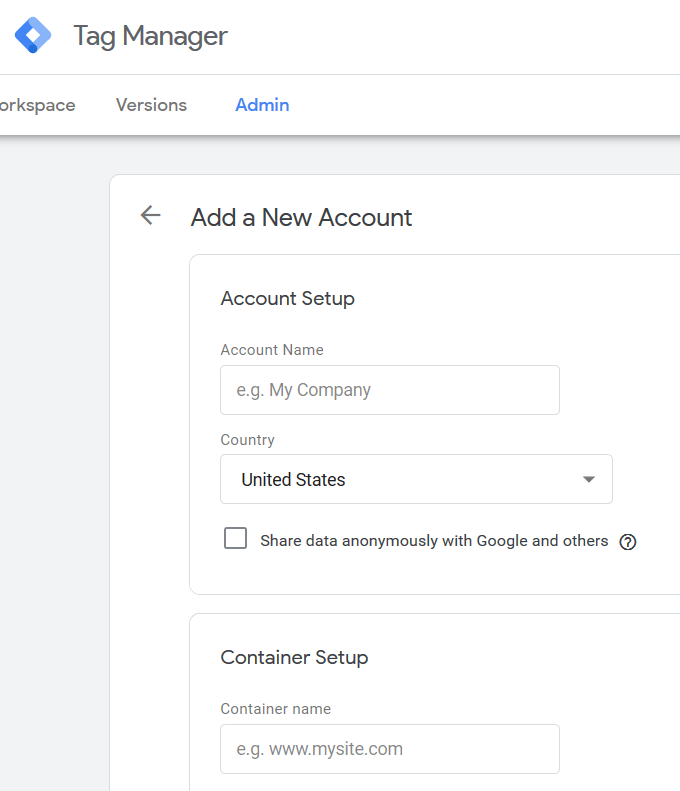
If you don’t already have a Google Tag Manager account, set one up.
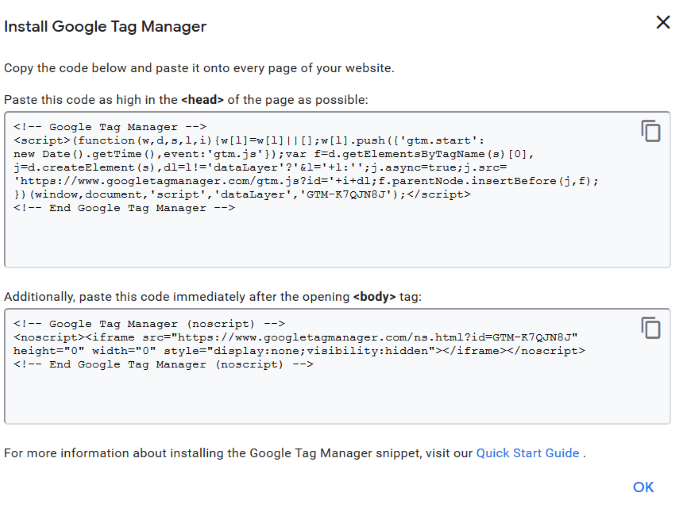
Add your account name, country, container setup (your domain), and your target platform (choose web). Then click Create.After you agree to Google’s terms of service, you will see your container ID with two code snippets.
You need to add both the snippets to each page of your site to complete the setup process. Make sure you add them in the correct place. One belongs in the
of your page. The other goes after the openingtag.If you need additional help installing the snippets, read Google’s Quick Start Guide. Or, if you are using WordPress, there are several plugins you can use.Once you create your container, you can start adding tags and triggers to gain insights into your site’s visitors.Below is an example of a website action to help you measure your marketing efforts.
Tracking Button Clicks
Button clicks refer to how many times your website call-to-action (CTA) is clicked. Many sites have multiple CTAs, such as:
Download.Add to cart.Click to call.Subscribe.Sign up.Get started.Grab your free report.Learn more.Join.
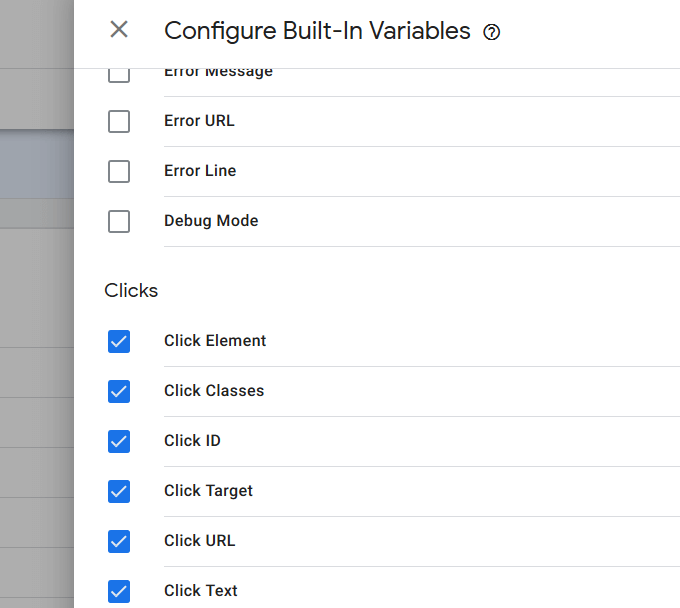
Set Up Some Variables
Click on Variables and then Configure from the navigation on the left. Scroll down and click Element, Classes, ID, Target, URL and Text.
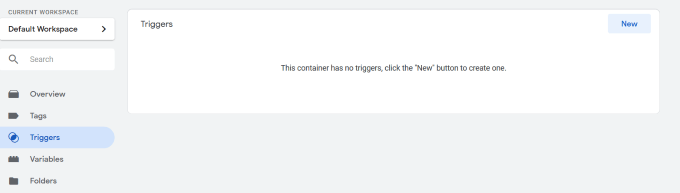
The next step is to enable a trigger that will fire on all clicks. Click on Triggers from the navigation on the left and hit NEW.
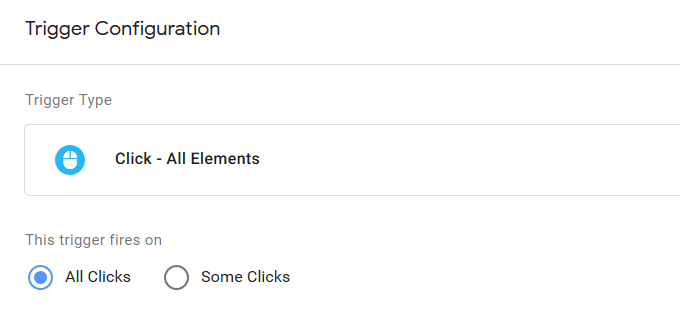
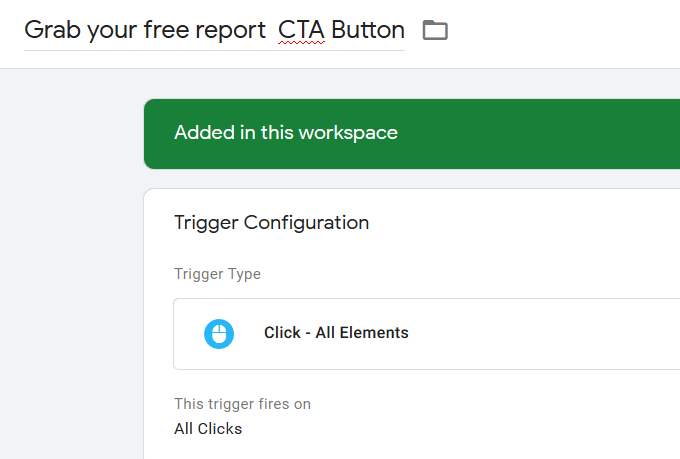
Then give your trigger a name. Let’s call it Button Click.To select a trigger type, click inside the trigger window, scroll down to the bottom of the pop-up page, and click on All Elements. Make sure you set This trigger fires on All Clicks and click Save.
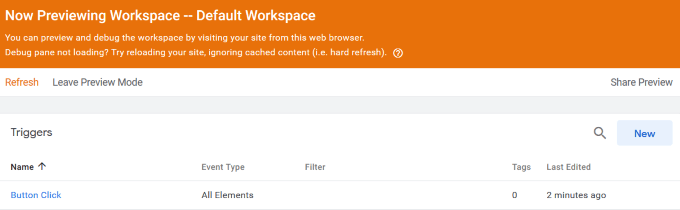
To make sure the tag is working correctly, click the Preview button. An orange bar will appear so that you will know you are in preview mode.
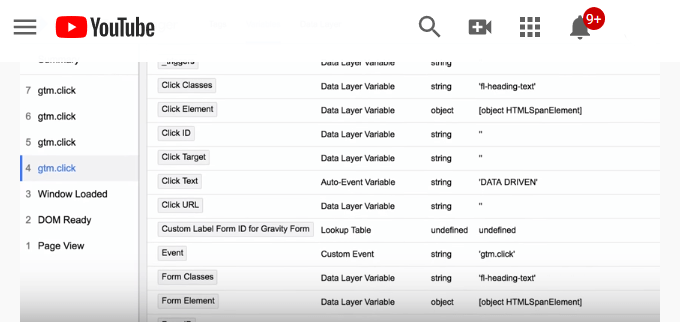
Open your website in a new browser tab and refresh the page. You will see summary items in the quick preview mode. Because in this example we set the trigger to fire whenever anyone clicks anywhere on your site, it will register as a GTM click.If you want to identify a specific button on a page, select one of the clicks in the Google Tag Manager preview panel. Then click Variables.
You will see click classes, click elements, and click texts. All the different clicks and click classes are notated. Once you have located the variables, figure out what to filter out for the button you want to track. Click on that website button, and it will highlight the summary section on the GTM preview below your website. Look at the variables that are related to your selected button such as Click classes, Click Element, and Click ID. Use this information to set up your button click. Go back to your Google Tag Manager. Navigate to Button Click. For the purpose of this article, let’s set up a button for Grab your free report, so rename the button to Grab your free report CTA.
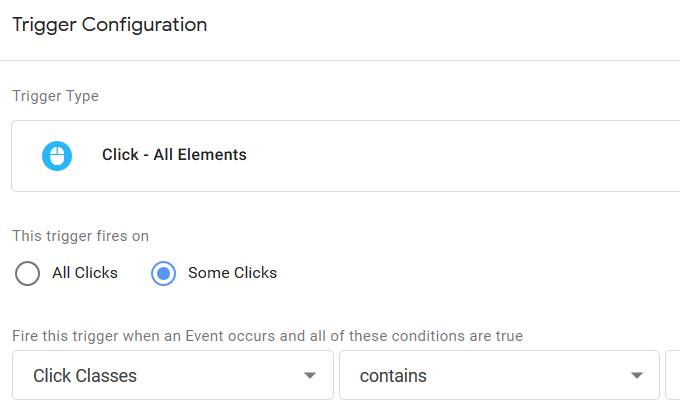
Navigate to This trigger fires on and choose Some Clicks.
Here is where you will be able to filter by the variables you found when in preview mode. Go back to your website preview and write down the variables for the button you want to track. Different parts of a button might have different classes depending upon where you click. The best solution for this is to switch your tracking to Link Click because the classes are the same no matter where you click. A link click is a hyperlink that remains constant.
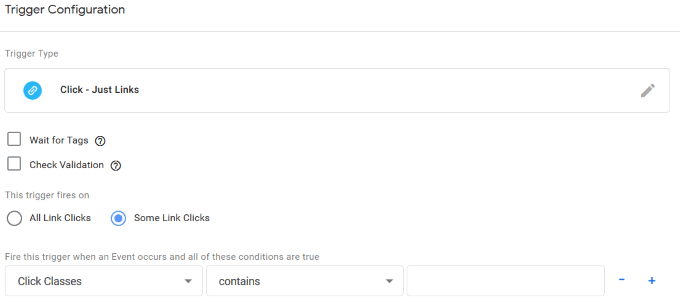
To change that inside of GTM, select Click – All Elements and change it to Just Links.
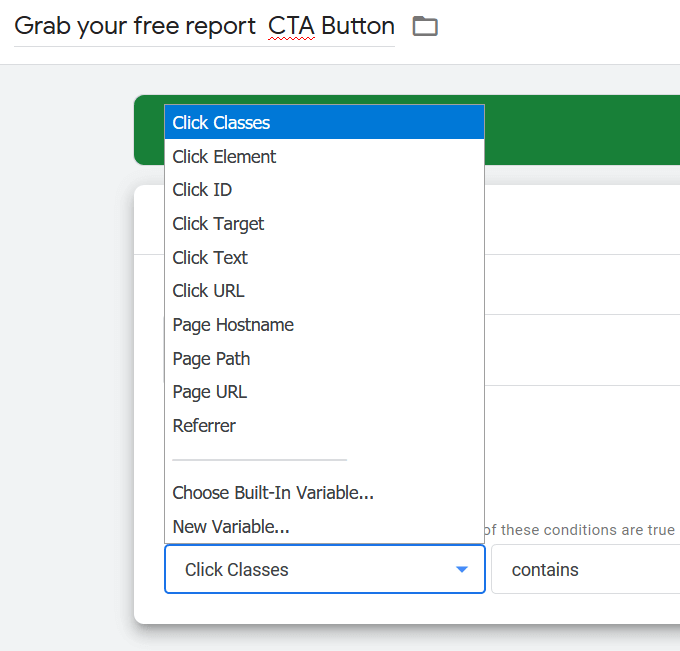
Use the class you wrote down from the preview mode and add it in the blank box to the right of Click Classes and click Save.
Create a Tag
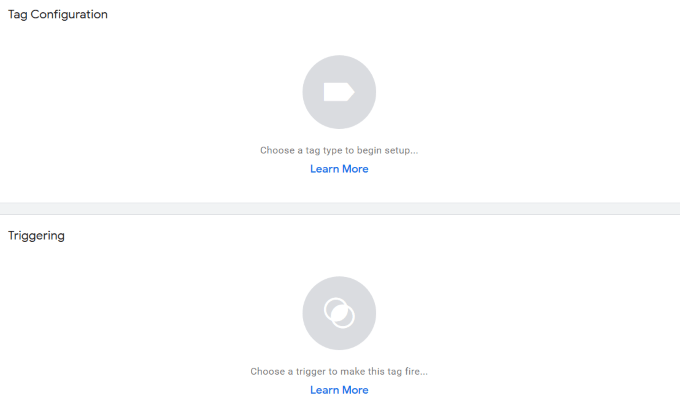
Click on Tags from the left-side navigation and hit New.
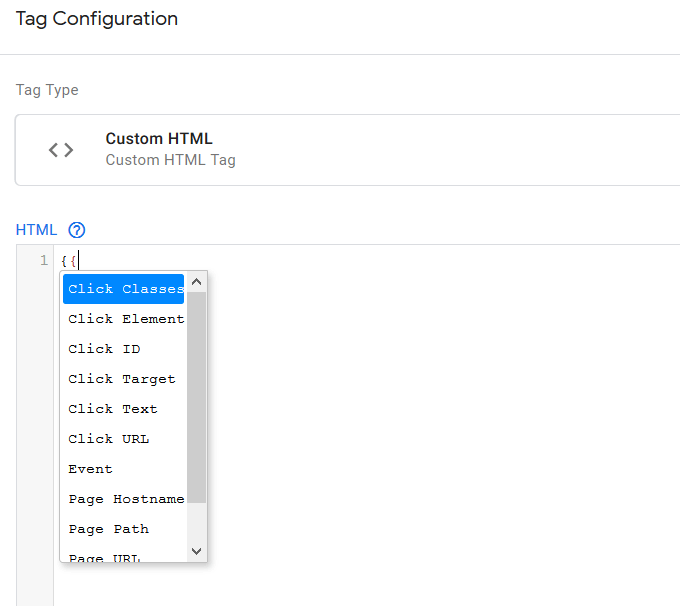
Click inside the Tag Configuration box to open the tag types. Scroll down and select Custom HTML. You can use variables inside this Custom HTML section by typing them inside these brackets { }.When you start typing the brackets, you will see a quick search select menu where you can choose your defined existing variables.
Now you need to hook this up to the trigger you just created. Click inside the Triggering box, select the trigger and click Save. Refresh your preview page again to test your button. Click on your button to see if the tag is fired. If it doesn’t work, go back and check all your settings.When they are correct, you will see Tags Fired on This Event. You are now tracking when your button is clicked.
Make The Tag An Event
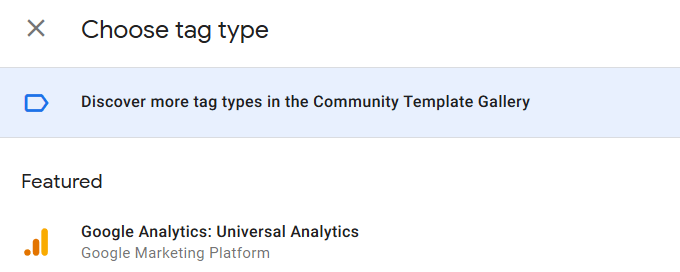
Go back to GTM and select the tag you just created. Make sure to name it with an identifiable name.Change the Tag type from Custom HTML to Google Analytics: Google Analytics: Universal Analytics.
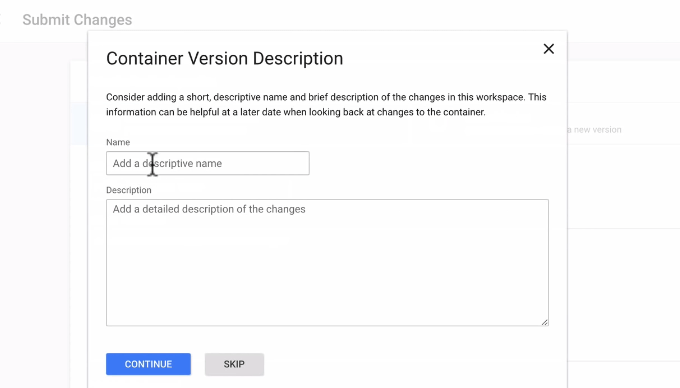
Select Event for Track Type, CTA Button for Event Tracking Parameters, Click for Action and add an identifying name for Label.Scroll down to Google Analytics Settings, select {{Google Analytics}} and click Save. Now you are tracking your clicks inside of Google Analytics as an event.Submit your event and then Publish it.In the Container Version Description section add a descriptive name for your event and click Continue.
Your new trigger and new tag are now live on your website to track any time a site visitor clicks on the button.
There is no limit to the number of actions you can track using Google Tag Manager. The more data you collect and measure, the better you will be able to tweak your marketing and ad campaigns to increase conversions and sales.