Reasons for Overscan in Windows 10
Typically, Windows will try to recognize the screen’s resolution you’ve connected to your system and adjust the display settings accordingly. Sometimes, though, the interaction between the connected display and Windows goes off-track, and causes Windows to display an incorrect resolution. When this happens, you’ll notice overscanning (or underscanning) on your screen. However, sometimes it isn’t Windows’ fault because an outdated driver could also result in an overscanning issue. The good thing is, there are a few quick fixes for overscanning.
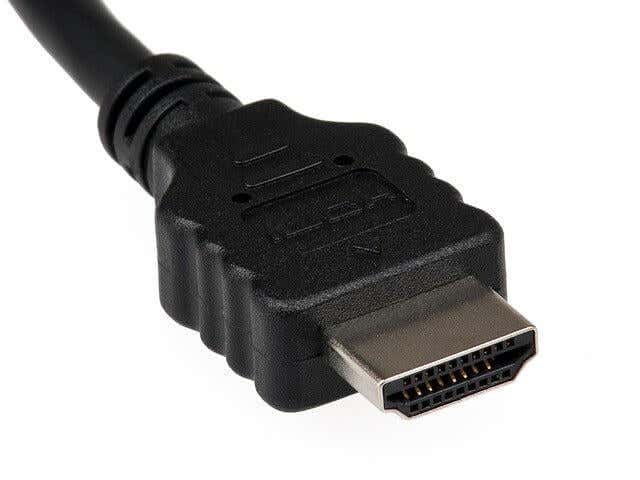
Reconnect HDMI Cable
This is probably the simplest fix you can try. Simply unplugging the HDMI cable and plugging it back into the display often fixes over scanning. This usually happens when you’ve loosely plugged the HDMI cable into the socket, which could have disrupted the connection between the PC and the display. You could also try using a different HDMI cable to see if that helps. If it doesn’t, try the next fix.
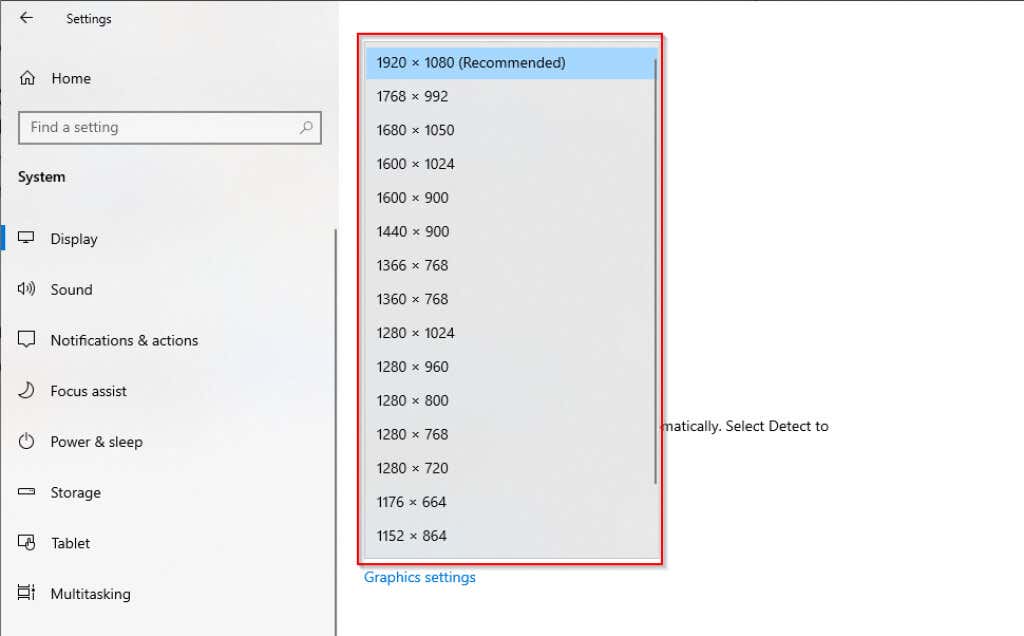
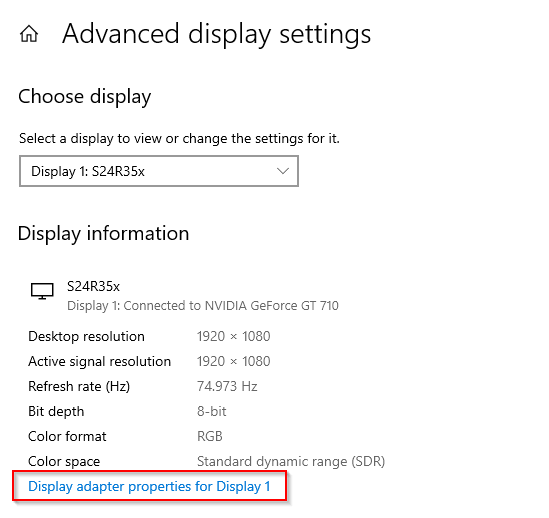
Change Screen Resolution
In most cases, changing the screen resolution should fix your overscanning issue. There are several ways to fix Windows 10 resolution issues, but we’ll focus on using the Windows Settings app here. Before doing this, make sure you know what resolution is best for the screen you’ve connected to the system. If you don’t know the resolution, it’s usually on the box that your display came in or the manual.
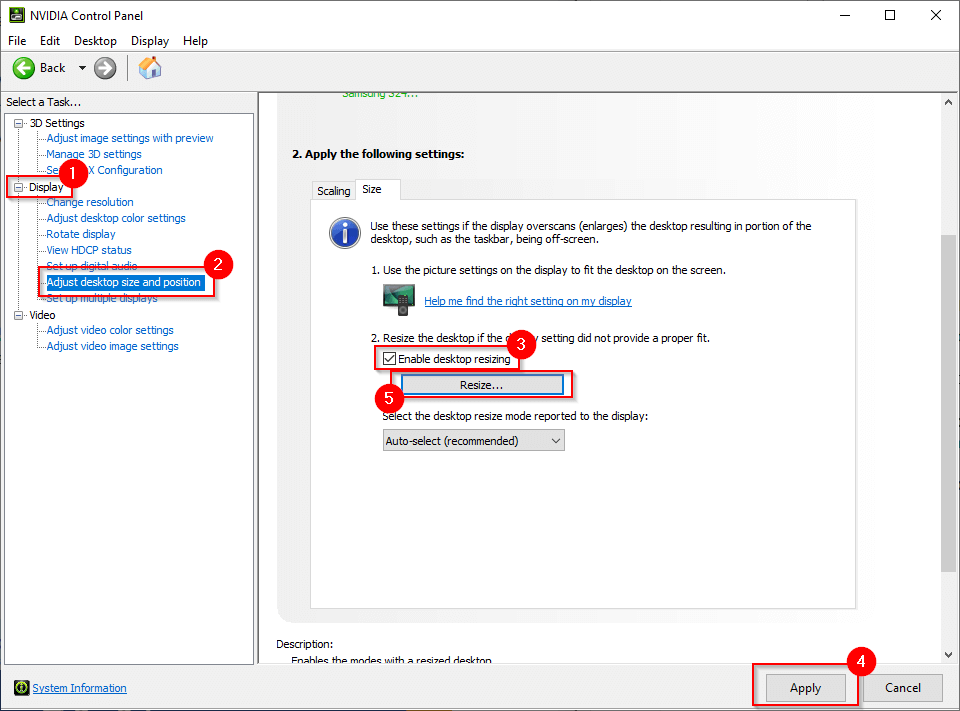
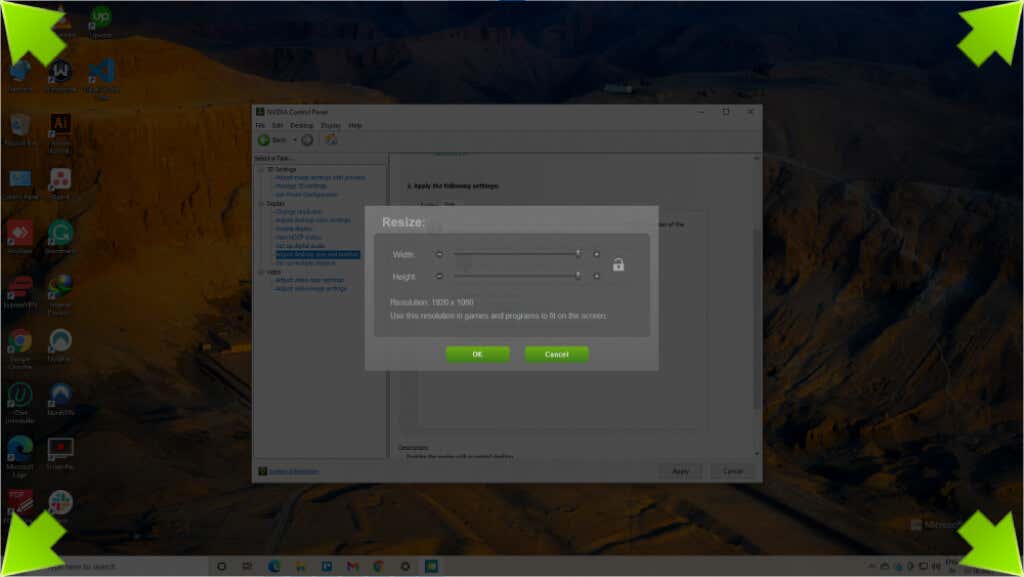
Use the NVIDIA Control Panel
If you use NVIDIA, it has a control panel that can help you resize your screen perfectly. Unlike the previous option, it gives you more flexibility regarding the resolution you want to use for the display connected to your system. If you don’t use NVIDIA, you’ll either have the Intel Graphics Control Panel or the AMD Radeon Software, both of which will allow you to adjust your screen resolution.
Adjust the Screen’s Display Settings
You could also adjust the resolution from the screen you’re using. Monitors and TVs from different manufacturers have different ways to do this, but you’ll typically find resolution settings in the Display or Picture settings. If you can’t find the settings, give the manual a quick read, and the process will likely be illustrated in there somewhere. For smart TVs, you’ll be able to use the remote in most cases, but a monitor may require using the buttons at the back or bottom of the display to change settings.
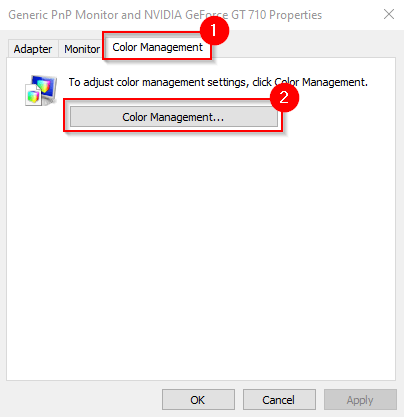
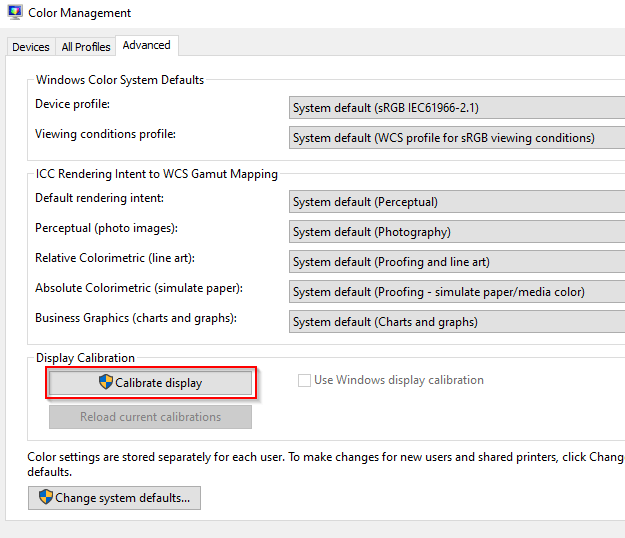
Calibrate Your Monitor
Windows has a built-in calibration tool that could come in handy when fixing overscan in Windows 10. Of course, you could also use a third-party calibration tool, but since Windows already has a calibration tool built right in, it’s just easier.
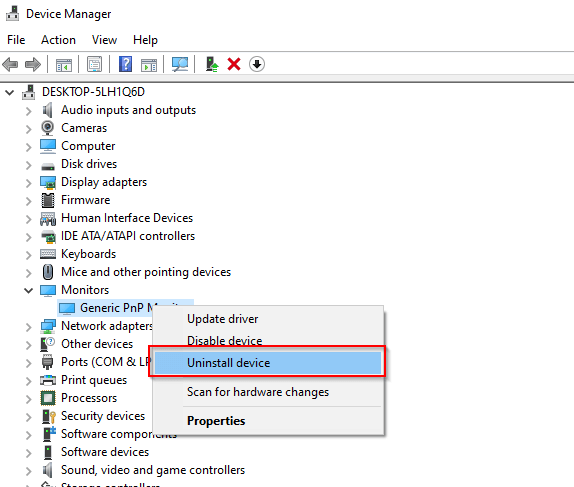
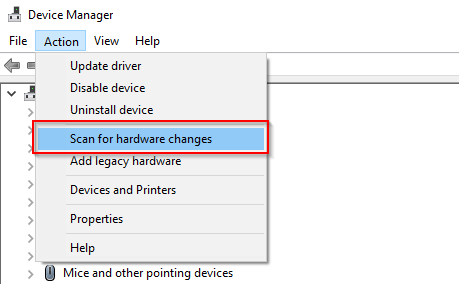
Update Drivers
If none of the fixes worked for you, your drivers could be at fault. If your display drivers are outdated or corrupted, you’ll need to update or reinstall them. In most cases, Windows automatically updates drivers. However, you can manually update your drivers or use a third-party program to update your drivers. You could also reinstall the driver afresh.
You Can Now Fix Overscan in Windows 10
It’s annoying when you’ve just got yourself a large screen to enjoy a better viewing experience, but your system just doesn’t want to play ball. Hopefully, one of these fixes helped you fix your overscanning issue. If you’re all set, you could also try to further improve your Windows 10 display quality.