Although, face swapping for comedic effect is also common, and can be done easily in Photoshop if that’s your goal. And sometimes it can look surprisingly real if done correctly. So read on if you’re looking to make some face swapped photos.
How to Face Swap in Photoshop With Masks
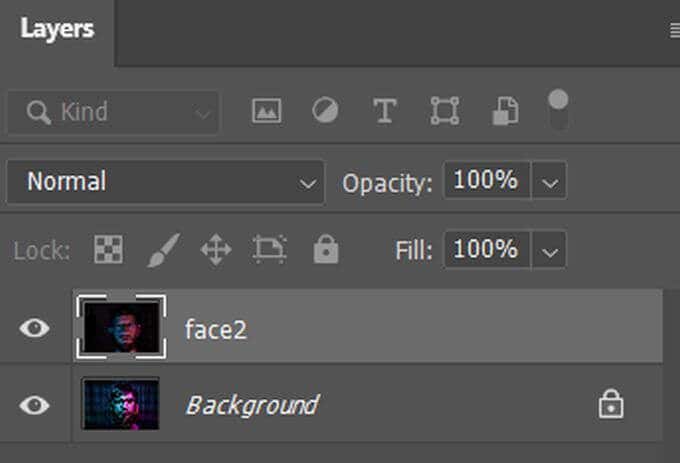
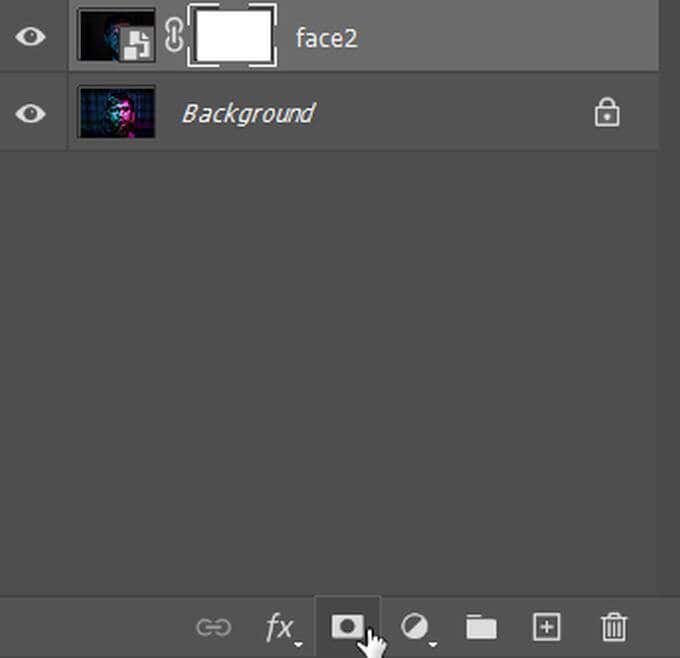
There are a few different ways you can do a face swap, and one of them is by using the mask layers in Photoshop. This makes it easy to switch out a face and have it look like it fits the rest of the person. This method works best if both the photos you’re using are similar. Here’s how to do it: This method works well enough for a basic face swap if you’re not trying to go for too much detail or need it to look very real. But, if you want something more realistic, you can also use object selection to get the job done.
How to Face Swap in Photoshop With Object Selection
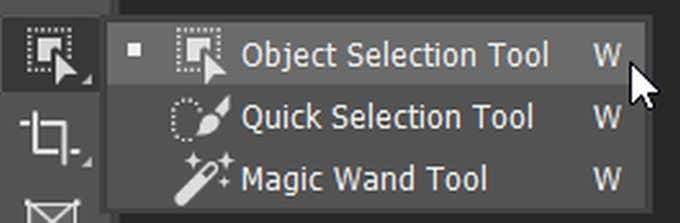
This method makes for a much cleaner face swap, but it’s also not too difficult to do. All you’re doing is selecting the face you want to use to swap and moving it onto the other photo. Follow these steps to face swap this way: This method will work best if both images have similar quality levels and lighting. If you need to fix anything else such as lighting or color, there are a few ways you can fix these issues as well.
Making the Face Swap Look Natural
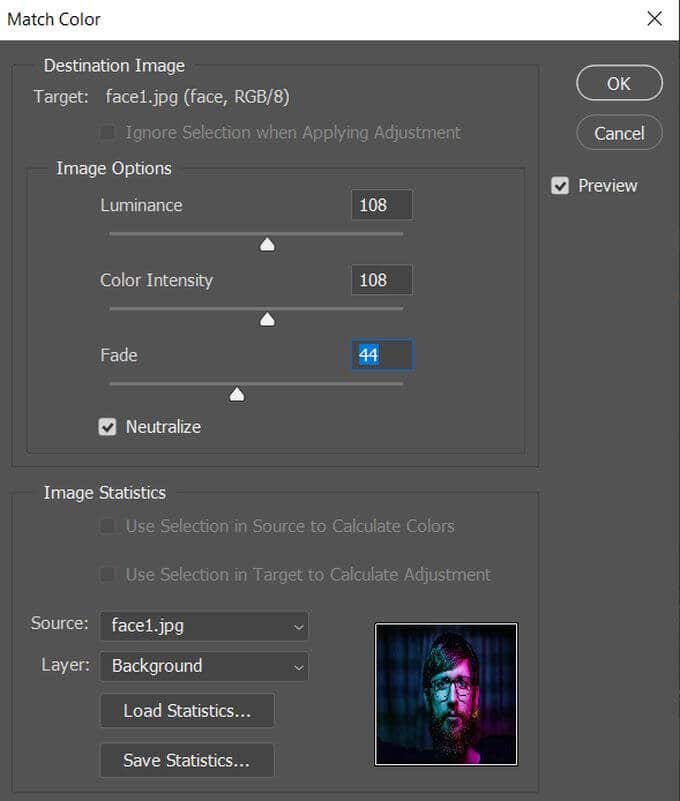
If your face swap looks a little off and it’s showing that some work was done on the photo, you may want to try some methods of making the face swap look more natural. This will allow the swapped face to look more like it was never changed at all. Pay attention to differences in lighting and color when you’re face swapping images. As you can see in this image, the face replacing the original face is much brighter than the original photo. There are a few different ways you can fix any anomalies you may spot. One of these is the Match Color feature. This can help you blend different skin tones or other color issues. Here’s how to use this feature: Besides using Match Color, you can also use the Blend tool to seamlessly combine the swapped face with the new image. You can also use the Auto-Blend Layers option and select Seamless Tones and Colors to fix some disparities between the two faces. Once the image looks good to you, make sure you save it so you don’t lose anything.
Face Swapping in Photoshop
Whether you want to make a natural-looking change to your photo or just a quick face swap to show your friends, it’s easy to do in Photoshop by following this guide. As long as you have images that will work well in a face swap, you should have no issue making one.