NTFS has been the default file system for Windows users since the Windows XP days, so if you’re still holding on to drives that use FAT32, you’re missing out on the speed and technical advances that the currently-maintained NTFS offers. If you want to convert a Window drive from FAT32 to NTFS, here’s what you’ll need to do.
Using Windows PowerShell To Convert FAT32 To NTFS
There isn’t a graphical option to convert FAT32 drives to NTFS on Windows. However, you can convert a Windows drive from FAT32 to NTFS using the Windows PowerShell, although this won’t work for the drive containing your Windows installation.
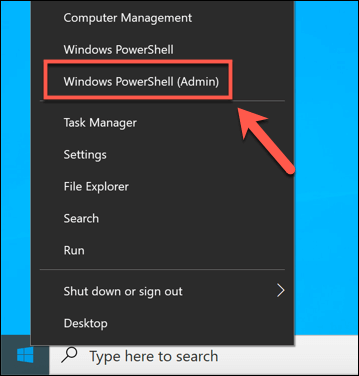
To open a PowerShell window, right-click the Start menu and press Windows PowerShell (Admin).
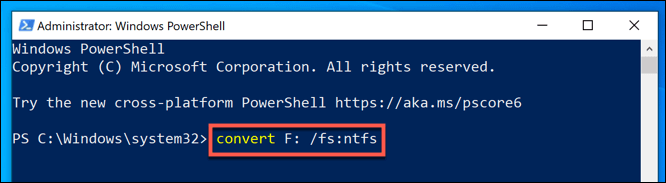
In the open PowerShell window, type convert E: /fs:ntfs, replacing E: with the correct drive letter for your drive.
The process will take a bit of time to complete. Once the process has completed, and assuming no errors have occurred, the file system on your drive should have converted to NTFS with no additional steps required. If an error does occur, it may indicate a problem with your drive, so be sure to check your hard drive for errors before trying the process again.
Convert FAT32 Drives To NTFS Using Windows File Explorer
While converting your drive from FAT32 to NTFS without formatting it is the preferred option, you may not be able to do this. If your file system has errors, or you simply want to clear the drive and repurpose it, you may find formatting it is the better option. This means that your current FAT32 file system will be erased, along with all existing files, and replaced with an empty NTFS drive. You can do this in a few ways, but the quickest method is to use Windows File Explorer.
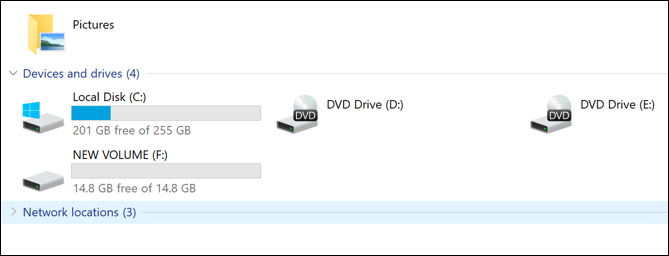
In Windows File Explorer, open the This PC section using the navigation pane on the left. Your drives will be listed under the Devices and drives section.
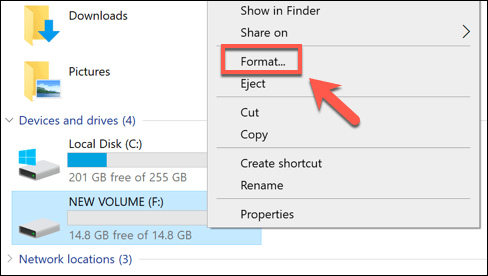
To format a FAT32 drive, right-click the drive you wish to convert. From the context menu, click Format.
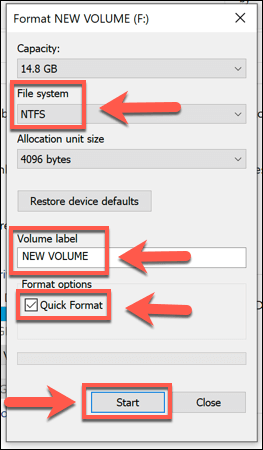
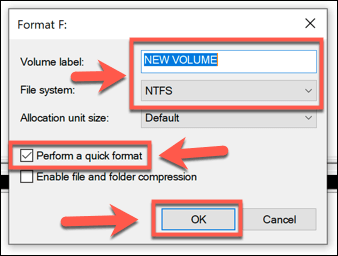
In the Format window, you can set the name, file type, and type of formatting. Make sure to select NTFS from the File system drop-down menu. If you want to name your drive, set a new label in the Volume label box. You can also quickly wipe your drive by enabling the Quick format checkbox.
Once you’re ready to begin formatting, press the Start button.
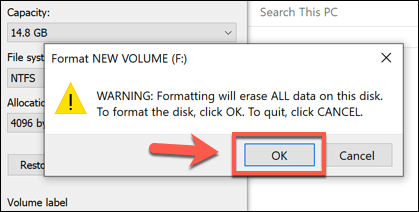
Windows will ask for confirmation that you actually want to format the drive, warning you of the data loss risk. Press OK to confirm.
The formatting speed will vary, depending on the size of the drive and whether you selected to use the quick format option. Once the NTFS formatting process has completed, you’ll be free to use the drive immediately.
Convert FAT32 Drives To NTFS Using Disk Management
You can also use the Windows Disk Management tool to format a FAT32 drive, converting it to NTFS. Like the method above, this will also wipe your data, so be sure to backup your files first.
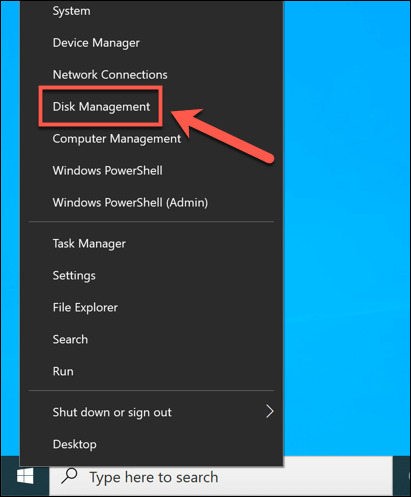
To open Disk Management, right-click the Start menu and click the Disk Management option.
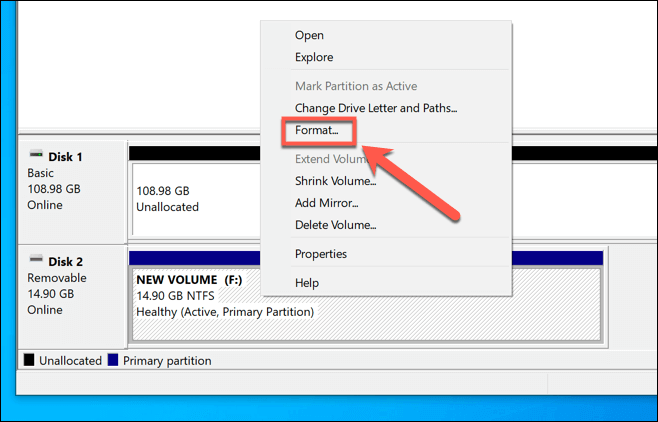
In the Disk Management window, a list of your drives and partitions will be listed. To format a drive partition, right-click on an entry in either the disk list (at the top) or volume list (at the bottom) and select the Format option.
In the Format window, you can select a volume label and file system. For the file system, select NTFS. You may also wish to press the Perform a quick format checkbox to quickly format your drive, but if you want to securely wipe it, make sure that this checkbox is left unchecked instead. Once you’re ready, press OK to confirm.
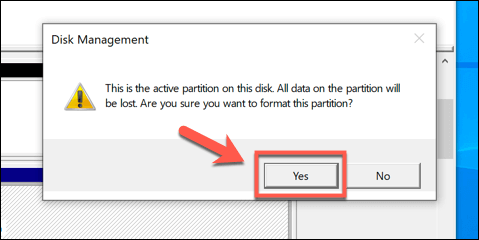
You’ll be asked for confirmation that you do want to format the disk, losing any saved files in the process. Click Yes to proceed.
The drive will be formatted at this point. Once the process is complete, your newly formatted drive will appear in Windows File Explorer for you to use.
Using Third-Party Software To Convert FAT32 Drives
Windows includes various built-in methods for formatting or converting drives from FAT32 to NTFS, but there are also third-party options available. One example of free software capable of performing this task is AOMEI Partition Assistant. While a paid version of this software exists, the free version is able to convert FAT32 drives to NTFS without formatting the drives and losing your data.
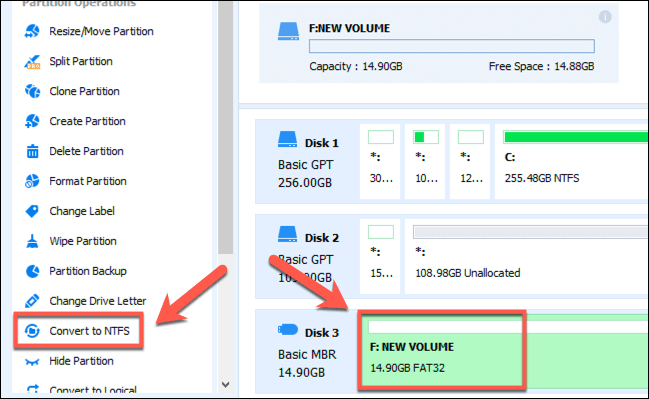
In the AOMEI Partition Assistant main window, you’ll see a list of your installed drives and individual drive partitions. To convert a drive partition, select it in the list at the bottom, then press the Convert to NTFS option in the left-hand menu.
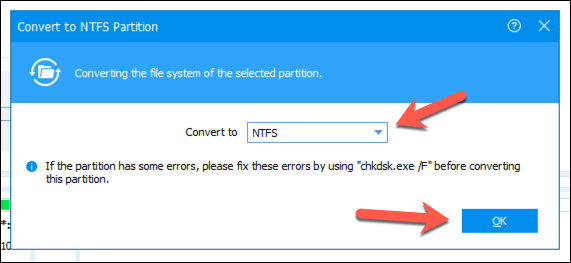
In the Convert to NTFS Partition options box, make sure that NTFS is the selected option in the drop-down menu, then press OK to confirm.
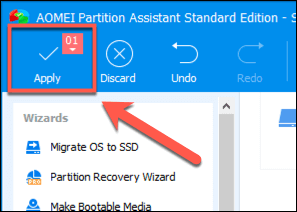
With your conversion options selected, you’ll now need to apply the changes. Press the Apply button in the top-left corner of the window to do this.
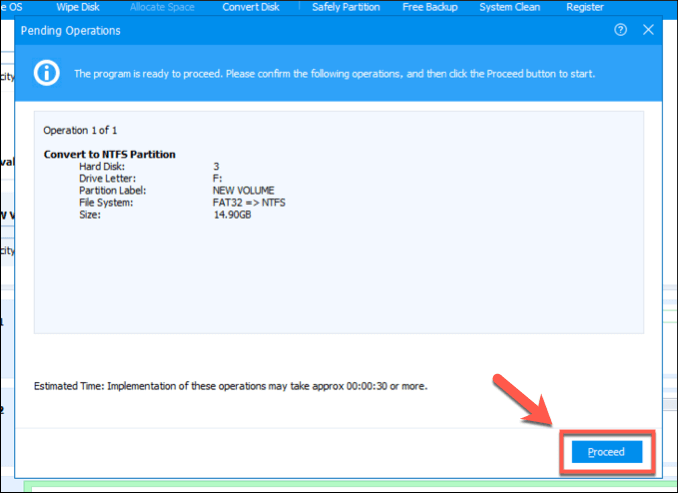
In the Pending Operations box, you can see a list of tasks you want the software to perform. Confirm that the correct FAT32 to NTFS drive conversion settings are in place (for instance, that you’re converting the correct FAT32 drive). Once you’re happy to proceed, press the Proceed button.
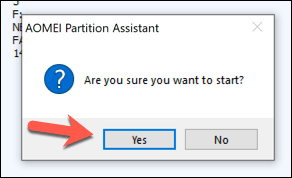
You’ll be asked for confirmation that you do want to proceed. Press Yes to confirm and begin the file system conversion.
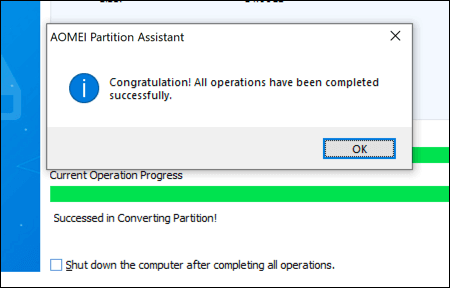
You can follow the on-screen progress bar to monitor the conversion. Once it has completed successfully, AOMEI will alert you.
Your newly-converted NTFS drive will be ready for you to use immediately once this process has completed.
Alternative File Systems For Windows Drives
FAT32 may be an old file system, but that doesn’t mean it’s entirely worth abandoning. You could use an older FAT32 drive as a shared storage drive for dual-boot systems, but you’ll probably find it easier to switch to NTFS or another type of file system like EXT4, the file system used by many Linux distributions. You might prefer to use FAT32 for a USB drive if you’re working on older PCs, but for the most part, NTFS is the best file system for USB and external storage drives, even if FAT32 is considered the most compatible option. If you have a Mac, however, you may want to give exFAT a try, as both Windows and macOS support it.