Fortunately, there’s a neat little trick that makes the process quite simple. Follow the steps below in order to extract images from a word document the easy way.
Extract Images from Word Document
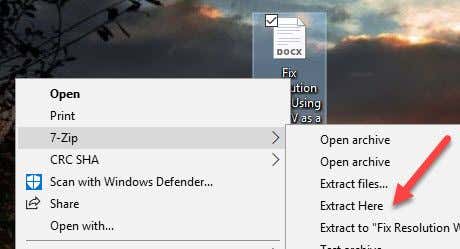
Step 1. You’ll need some sort of file extraction software. In this guide, we’ll be using 7zip since it is free and widely available, but you can use whatever program you’re most comfortable with. Right-click the document you’d like to pull the images from and extract to a location of your choice.
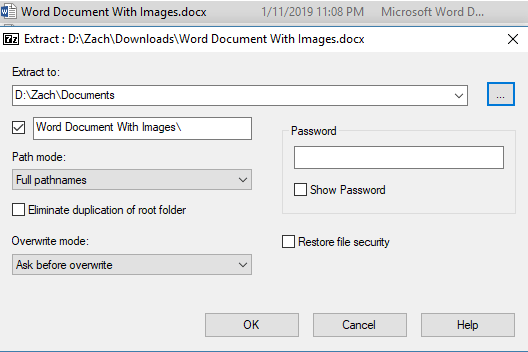
We recommend setting it in Documents to make it easily accessible. You can also just choose Extract Here if you like.
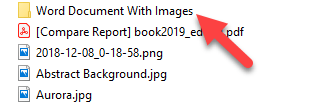
Step 2. Head to the extraction location and you should see a folder with the same name as your saved document. Click this folder to open it.
Step 3. There may be several internal folders within; the one you want is named Word.
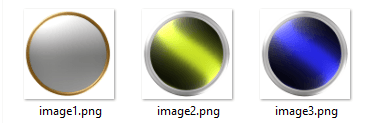
Step 4. Open the Media folder.
Step 5. Inside the media folder, you should have all of the images from within the document in one convenient place!
There are a few different ways to extract images from a Word document, almost all of which involve changing the file type in some way. However, it doesn’t get much easier than a 5 step process! With just a few minutes of your time, you should have a neat collection of all media from your Word document. Enjoy!