All in all, the Vyper is a great entry-level filament printer that will have you printing objects right away, without a lot of setup time or trial and error.
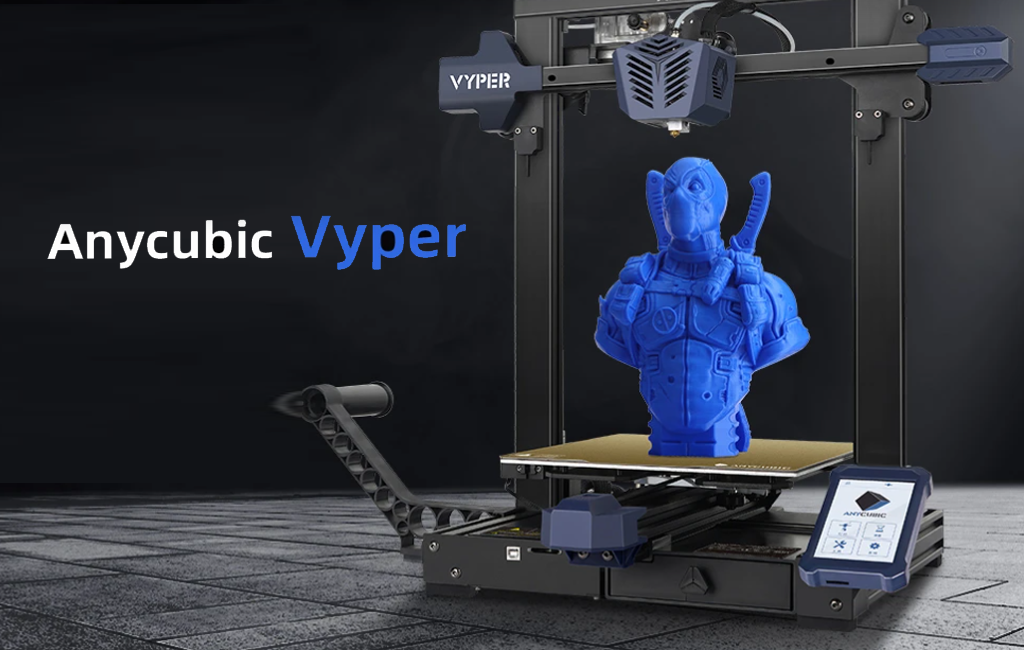
Features of the AnyCubic Vyper 3D Printer
AnyCubic’s Vyper 3D printer comes with a rich feature set. The Vyper is comparable to other 3D filament printers in its class and doesn’t cost as much as many of its competitors.
Large build volume – 9.6 x 9.6 x 10.2 inches (245mm x 245mm x 260mm)Automatic bed-leveling via strain gauge sensorDual parts cooling fan, plus hotend fanTMC2209 silent stepper driver for ultra quiet and accurate printingBuilt-in belt tensioners for ease of maintenance4.3” color touchscreen32-bit processorDual gear extruder driverDual screw Z axisSpring steel bed for easy part removalLED light next to the nozzle
We could go on at length about each feature, but suffice it to say, it’s got a lot of nice features, most notably the spring steel sheet and automatic bed-leveling.
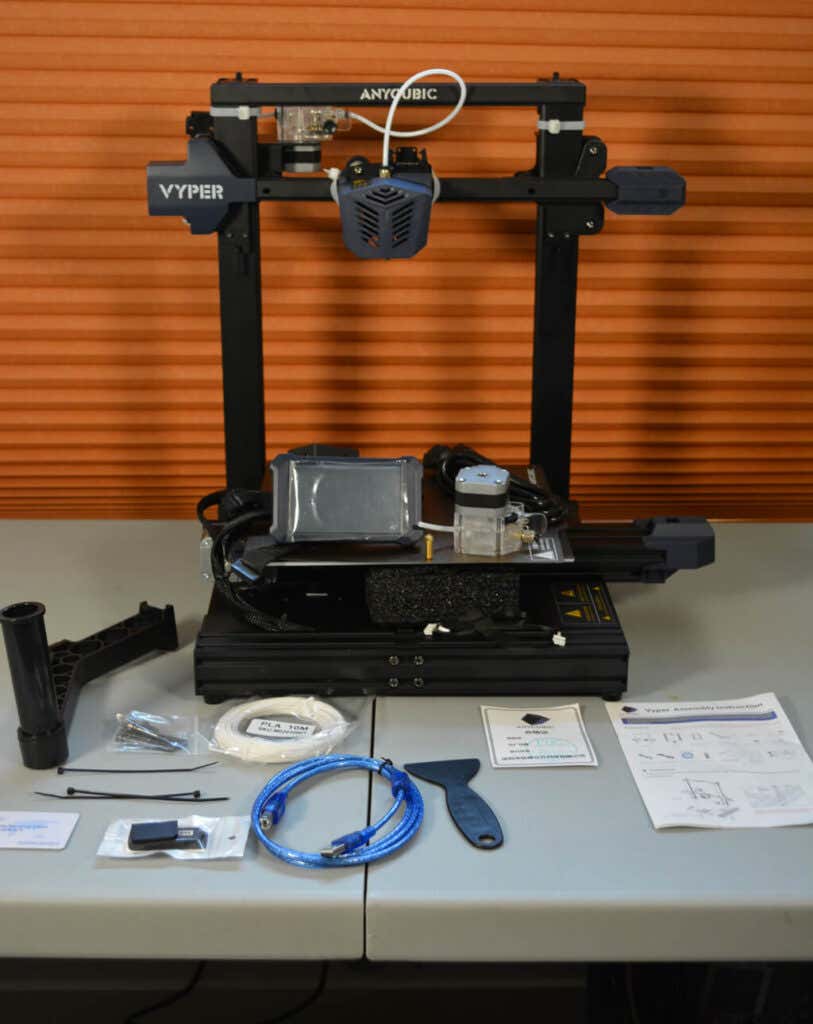
Assembling the Vyper 3D Printer
It took less than 30 minutes to unpack and build the machine before our first part started printing. And five minutes of that was spent looking for tools we thought were missing but were actually included in a really nice built-in storage drawer we completely missed at first glance. The Z-axis and the XY axis were completely assembled, requiring only that we connect them to each other using the included bolts. Next, we mounted the touchscreen with a few bolts and connected all the clearly-marked electrical cables. It was almost impossible to do it wrong. Finally, there were several zip ties used to hold the parts down during transportation. We cut those off, per the instructions. That was it.
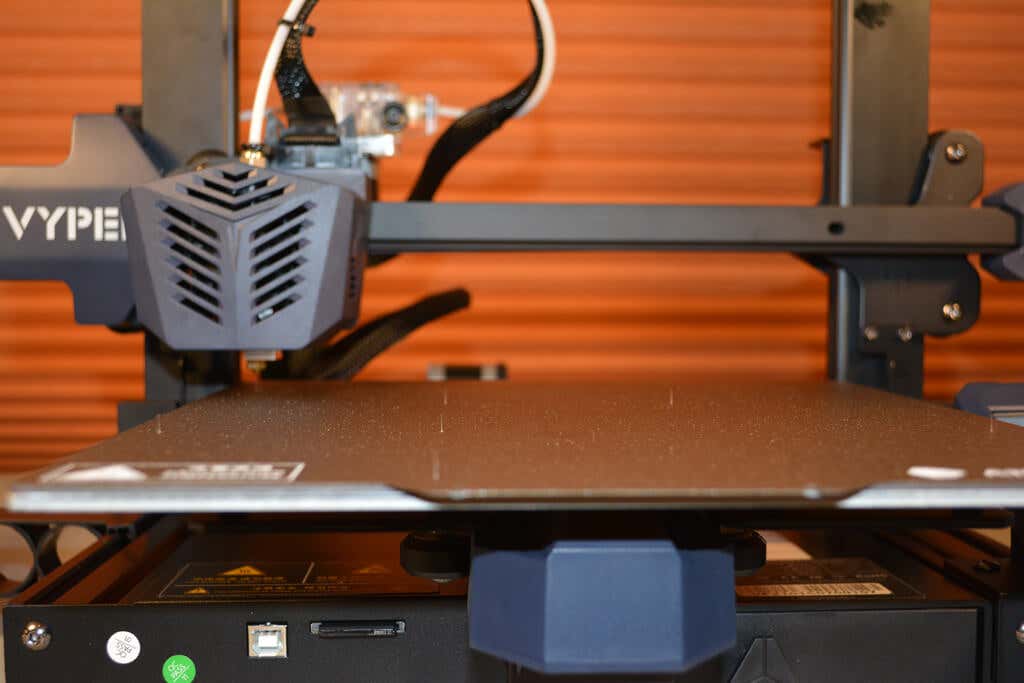
Build Quality of the Vyper
The Vyper uses 20/20 extrusions and molded plastic covers. All the parts looked professional and well-made, not janky like MK3 parts can be. The cable connectors for the wires are user-friendly and well-placed. The touchscreen is second-to-none, and the part drawer is a really nice touch. Out of the box, the Y-axis needed a tiny adjustment (the instructions mention this possibility). We were impressed by the hotend and the more than adequate part-cooling. The Vyper uses a dual fan, which means you can run your printer faster and still cool your layers. The attention to detail really makes it feel like a printer that costs a lot more than it does.
Calibration
The first step is to level the print bed. AnyCubic advertises the Vyper as “auto-leveling,” and it definitely is. The Vyper uses a method called strain gauge leveling that measures the force applied to the nozzle to determine when it’s made contact with the bed. This has a couple of advantages over other automatic bed-leveling methods. First, there’s no need to adjust the height of your leveling probe or apply an offset. Second, having the leveling sensor built directly into the nozzle means your probe can reach every bit of the build plate. Bed leveling was easy to find in the touchscreen control menu, and the touchscreen itself felt extremely responsive. It’s probably the best touchscreen we’ve used on a 3D printer. Leveling the bed was fairly a fairly quick endeavor except for the time it took the Z-axis to drop all the way down. That seemed very slow, but all in all, the process was a quick one. The slowness of the Z-axis is probably a trade-off for better accuracy. And, since you don’t need to level the bed before every print, it’s not a big deal. The Vyper uses a 4×4 grid system to perform bed leveling and stores it into EEPROM for all subsequent prints or until you re-level it.
First Print
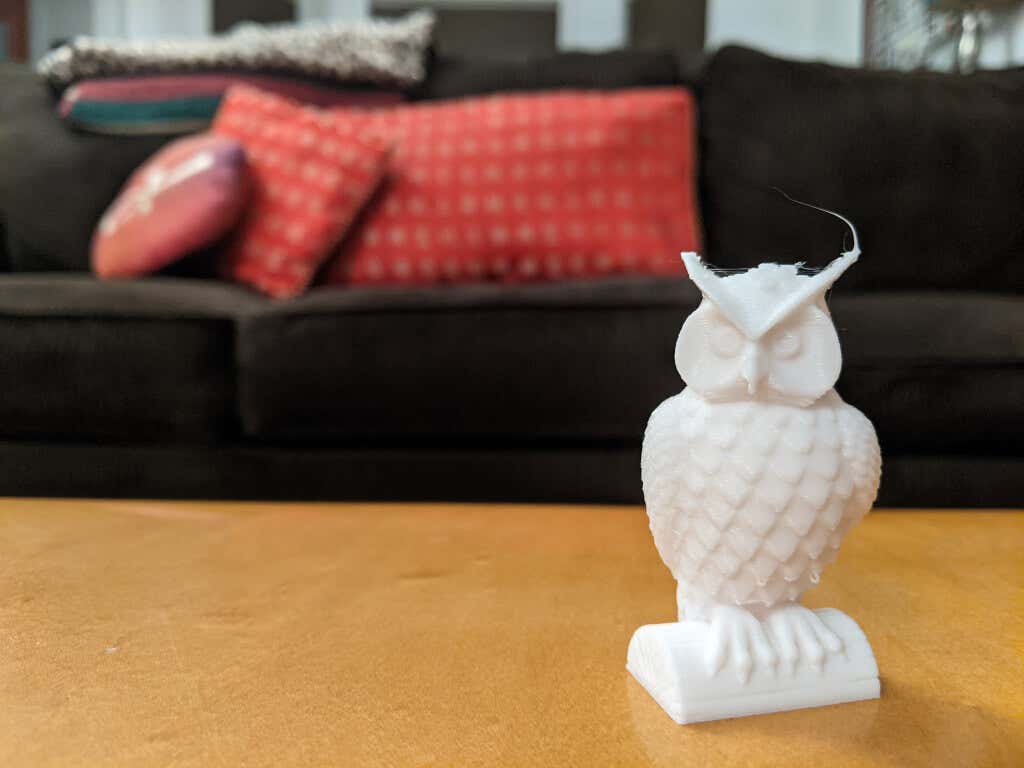
Other than a little bit of oozing on the top of the model, owl.gcode, the test print looked very good. We suspect that particular print could be improved quite a bit by adjusting the Cura settings and reslicing it, but it looked better than anticipated, especially for a first print. After letting the print bed cool and removing the steel sheet, the print dropped off with almost no effort. The magnetic spring steel bed is a must-have feature if you’re shopping for a 3d printer. The textured surface left a nice finish on the bottom of the test print. The test print completed just under 90 minutes–impressively fast. Other than the fan, the Vyper is almost silent. Having lived in a house with many 3D printers, we can attest that this is the quietest one we’ve ever used.
Cut to the Chase
For the money, this printer is a steal. It’s easy to set up, easy enough for a beginner to start printing in half an hour. It’s reliable enough to print batches. In fact, we didn’t have any failures at all. If we were going to buy a printer for someone who had never used a 3D printer before, the AnyCubic Vyper would be a strong contender. It’s much easier to use than an Ender 3 because of the automatic bed leveling and the high-quality parts. The Vyper requires very few adjustments, which means that the end-user can start printing right away. The Vyper also works great with OctoPrint, so you can get access to all those great OctoPrint plug-ins. The Vyper might be a great candidate for a print farm or school 3D printing lab since they’re so inexpensive and easy to set up and because of the low failure rate. All in all, the Vyper is a great 3D printer, well worth the money.